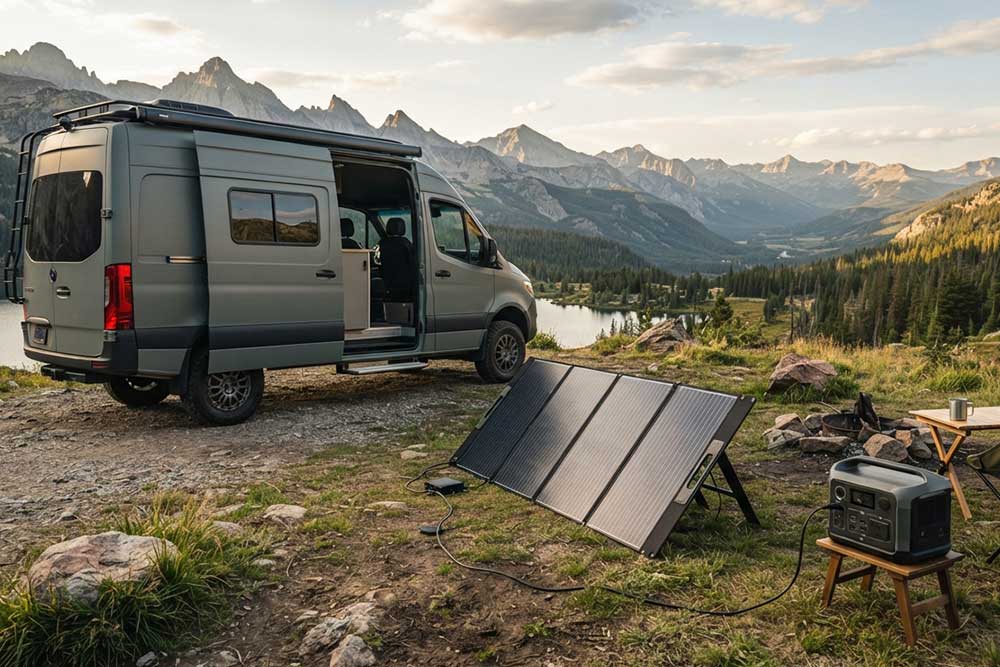
How to Connect Solar Panels to Charge Controller: Complete Wiring Guide
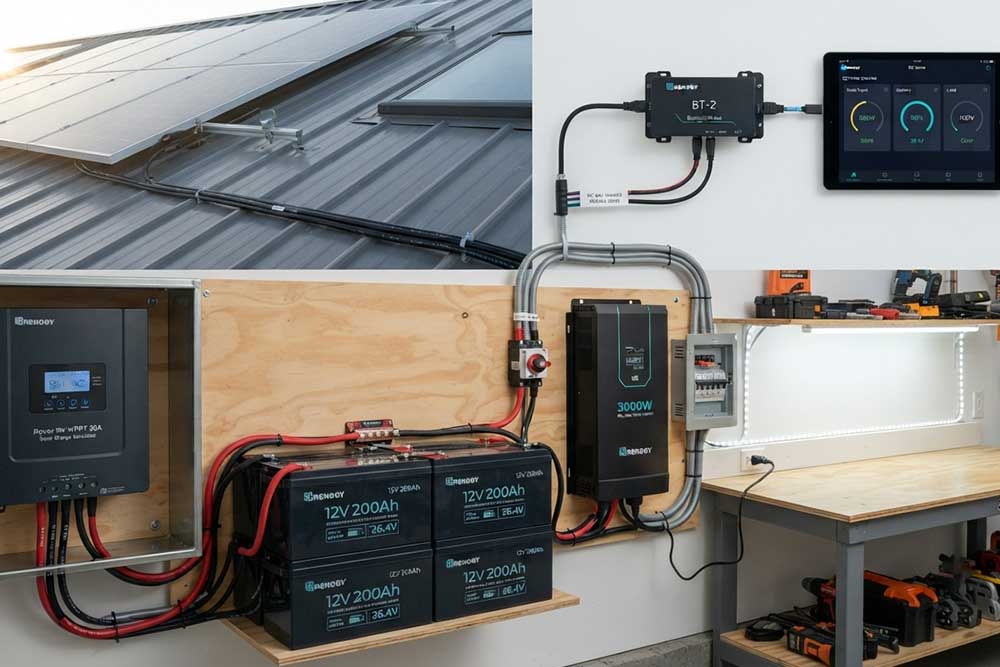
How to Connect Solar Panels to Charge Controller depends on matching the solar panel voltage, current, and charge controller specifications correctly. The basic process is to connect the battery first, then connect the solar panels to the controller’s PV terminals, configure charging settings, and test the system output for safe and efficient operation.
A solar charge controller works as the bridge between photovoltaic panels and batteries. It regulates the electricity generated by solar panels, controls charging current, and protects batteries from overcharging or excessive discharge.
Whether you are building an RV solar system, marine solar setup, portable solar solution, or off-grid power system, understanding solar panel charge controller wiring is essential for improving system reliability and performance.
At Bright Solar, we often find that many users focus only on solar panel wattage but overlook electrical compatibility between panels, controllers, and batteries. A successful solar installation requires balancing voltage, current, cable size, and controller capacity to achieve stable energy output.
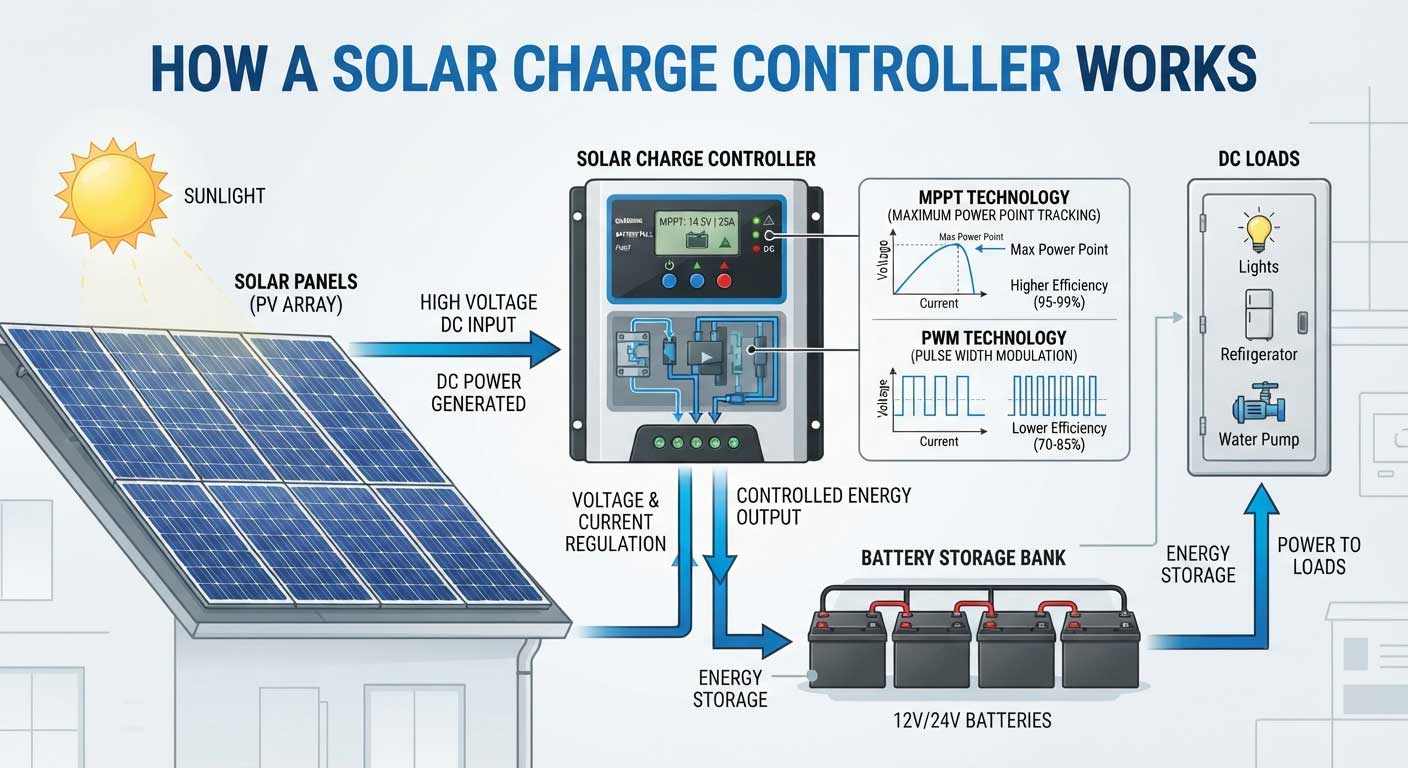
How Does a Solar Charge Controller Work?
A solar charge controller manages the electricity flow between solar panels and batteries.
During daylight hours, solar panels generate DC electricity. The charge controller regulates this energy before sending it to the battery.
The main functions include:
- Preventing battery overcharging
- Controlling charging voltage
- Protecting against reverse current
- Improving battery lifespan
Most solar systems use two common controller types:
- PWM (Pulse Width Modulation)
- MPPT (Maximum Power Point Tracking)
The controller type affects how solar panels should be connected.
For example:
- Small 12V systems may use PWM controllers.
- Larger systems often use MPPT controllers because they can handle higher PV voltage inputs.
According to the U.S. Department of Energy, MPPT technology allows photovoltaic systems to operate closer to their maximum power point, improving energy harvesting under changing conditions.
Source:
https://www.energy.gov/eere/solar/solar-photovoltaic-system-design-basics
What You Need Before Connecting Solar Panels to a Charge Controller
Before starting installation, prepare the following components:
Solar Panels
Check:
- Maximum power voltage (Vmp)
- Open circuit voltage (Voc)
- Operating current (Imp)
- Short circuit current (Isc)
These specifications determine how many panels can be connected and whether they should be wired in series or parallel.
Solar Charge Controller
Confirm:
- Maximum PV input voltage
- Maximum charging current
- Battery voltage compatibility
For example:
A 12V battery system does not always require 12V solar panels. Many MPPT systems use higher-voltage solar arrays to improve charging efficiency.
Battery Bank
The battery voltage must match the controller specification.
Common configurations:
- 12V
- 24V
- 48V
Solar Cables and Connectors
Most solar installations use:
- Solar-rated cables
- MC4 connectors
- Proper fuses and breakers
Cable size depends on:
- Current
- Cable length
- Allowable voltage drop
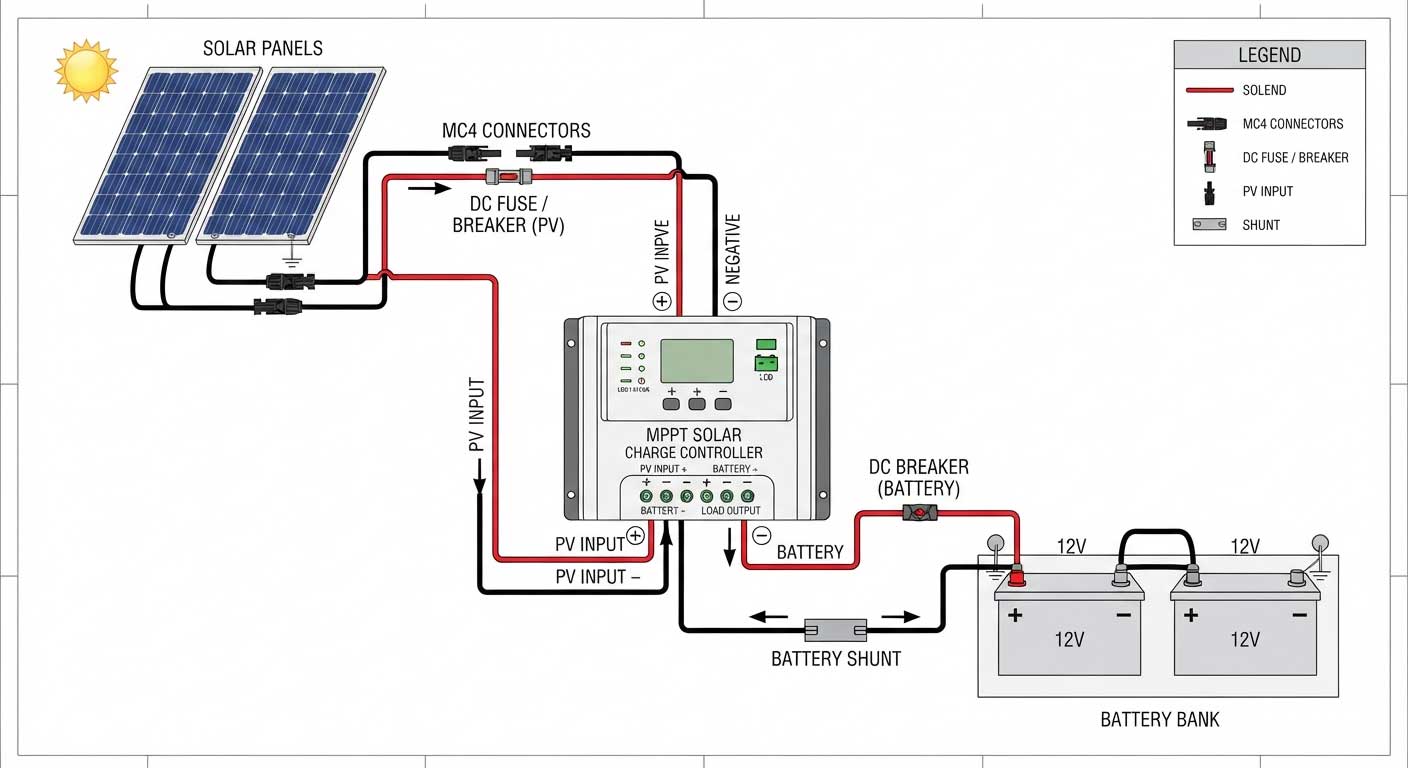
Solar Panel to Charge Controller Wiring Diagram
The basic connection order is:
Solar Panels
↓
Solar Charge Controller
↓
Battery
↓
DC Loads or Inverter
A key installation rule:
Connect the battery to the charge controller before connecting solar panels.
This allows many controllers to correctly detect the battery voltage.
Step-by-Step: How to Connect Solar Panels to Charge Controller
Step 1: Check Solar Panel and Controller Specifications
Before connecting anything, compare:
Solar panel:
- Voc
- Vmp
- Current output
Controller:
- Maximum PV voltage
- Maximum charging current
The solar array voltage must stay within the controller’s operating range.
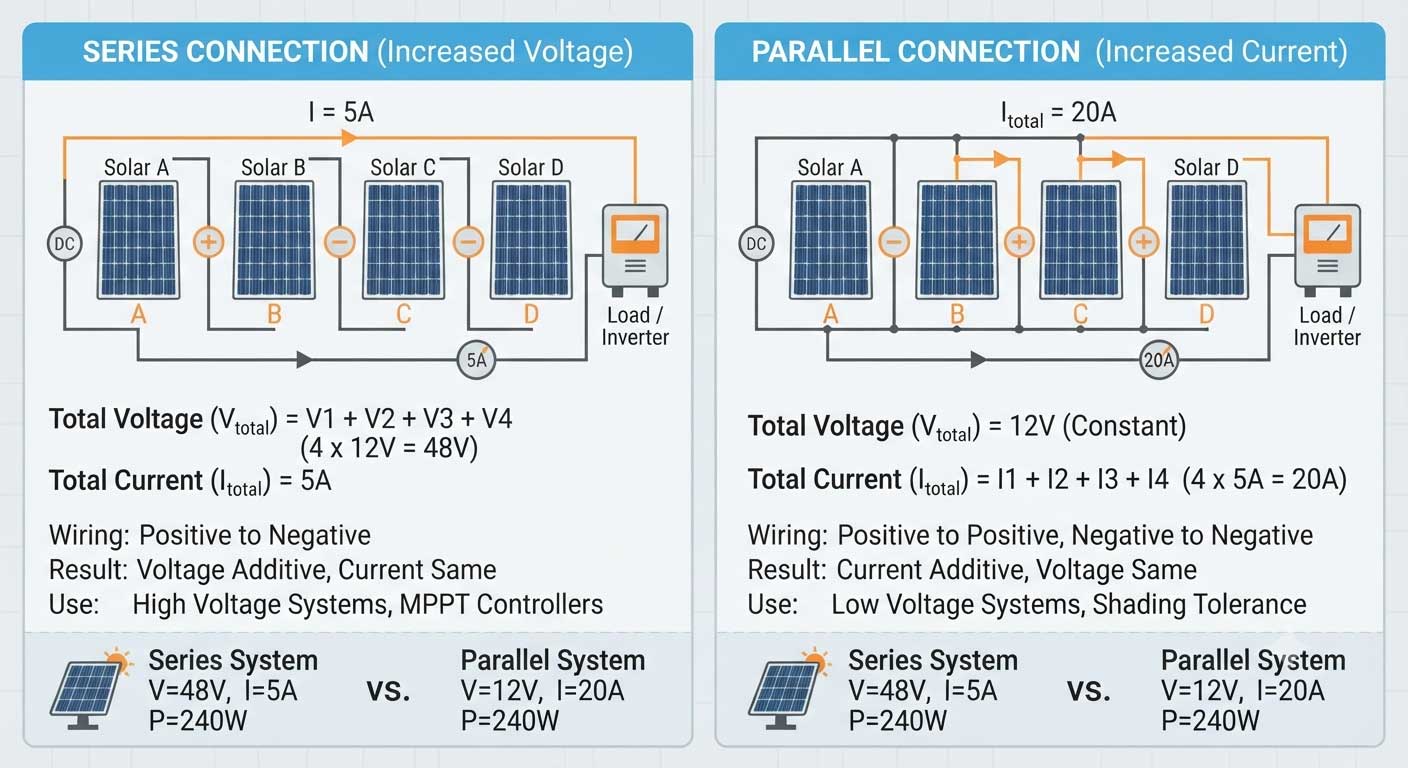
For series-connected panels:
Voltage increases.
For parallel-connected panels:
Current increases.
Understanding this relationship helps prevent controller overload.
Step 2: Connect the Battery to the Charge Controller
Most manufacturers recommend connecting the battery first.
Connection steps:
- Connect the positive battery terminal (+) to the controller battery positive terminal.
- Connect the negative battery terminal (-) to the controller battery negative terminal.
- Confirm the controller recognizes the battery voltage.
After this step, the charge controller can identify the battery system.
Step 3: Connect Solar Panels to Charge Controller
After the battery connection is complete:
Connect:
Solar panel positive (+)
→ Controller PV positive (+)
Solar panel negative (-)
→ Controller PV negative (-)
Always verify polarity before connecting.
Incorrect polarity can prevent charging and may damage components.
Step 4: Configure Charging Settings
Depending on the battery type, adjust:
- Battery voltage
- Charging profile
- Maximum charging current
Common battery types:
- Lead-acid
- AGM
- Gel
- Lithium LiFePO4
Lithium batteries often require specific charging parameters.
Always follow battery manufacturer recommendations.
Step 5: Test Solar Charging Performance
After installation, check:
Solar Input Voltage
Confirm the controller receives solar power.
Charging Current
Check whether current flows into the battery.
Battery Voltage
Monitor charging behavior.
Connection Temperature
Warm connections may indicate:
- Loose terminals
- Incorrect cable size
- Excessive current
How to Connect Solar Panels to MPPT Charge Controller
MPPT (Maximum Power Point Tracking) charge controllers are commonly used in modern solar systems because they can efficiently convert higher solar panel voltage into usable battery charging power.
When connecting solar panels to an MPPT controller, the main consideration is keeping the solar array voltage within the controller’s input range while maximizing energy harvest.
The basic connection process is:
Solar Panels
↓
MPPT Charge Controller
↓
Battery Bank
Before installation, check:
- Maximum PV input voltage
- Maximum charging current
- Recommended solar array wattage
- Battery voltage compatibility
According to the National Renewable Energy Laboratory (NREL), maximum power point tracking technology helps photovoltaic systems operate closer to their optimal electrical operating point, improving energy conversion under changing sunlight conditions.
Source:
https://www.nrel.gov/research/re-photovoltaics.html
Series Solar Panel Wiring With MPPT Controllers
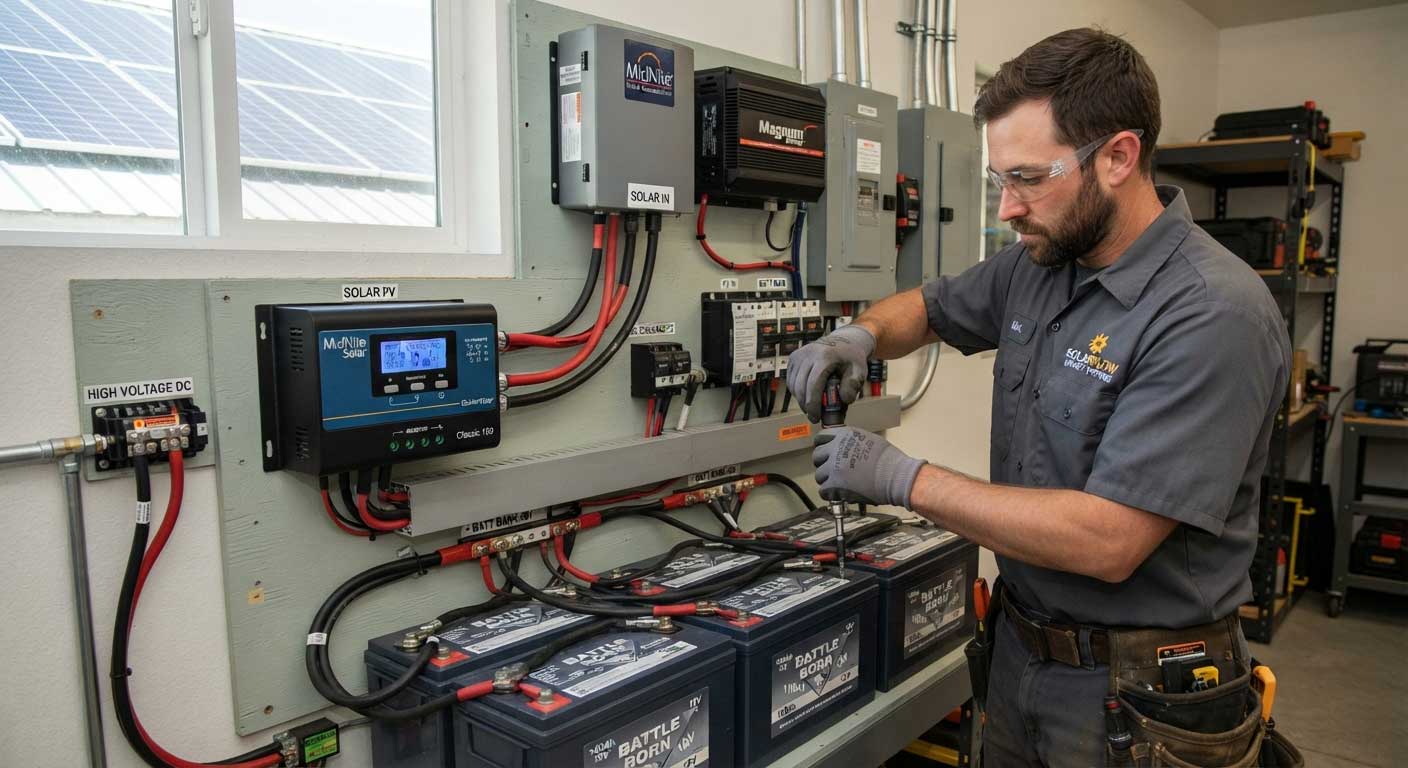
MPPT controllers are often paired with series-connected solar panels because series wiring increases PV voltage.
Example:
Two solar panels:
Each panel:
- 20V operating voltage
- 10A current
Connected in series:
Output:
- Voltage: 40V
- Current: 10A
The higher voltage allows the controller to convert solar energy efficiently, especially when panels are installed far from batteries.
However, the number of panels that can be connected in a series string depends on the solar panel voltage, open-circuit voltage (Voc), and controller input limitations. Learn how to calculate the correct system size in our guide about how many solar panels can be connected in series.
Advantages of series wiring with MPPT controllers:
- Lower current transmission
- Reduced cable losses
- Smaller cable requirements
- Better performance over longer distances
This configuration is common in:
- Residential solar systems
- RV solar upgrades
- Large off-grid systems
Parallel Solar Panel Wiring With MPPT Controllers
MPPT controllers can also work with parallel solar panels.
In parallel wiring:
- Voltage remains the same
- Current increases
Example:
Two solar panels:
Each panel:
- 20V
- 10A
Connected in parallel:
Output:
- Voltage: 20V
- Current: 20A
Parallel configurations can be useful when:
- Panels receive different sunlight conditions
- The system requires lower PV voltage
- Multiple smaller panels are used
However, higher current requires:
- Larger cables
- Proper fuse protection
- Higher controller current capacity
How to Connect Solar Panels to PWM Charge Controller
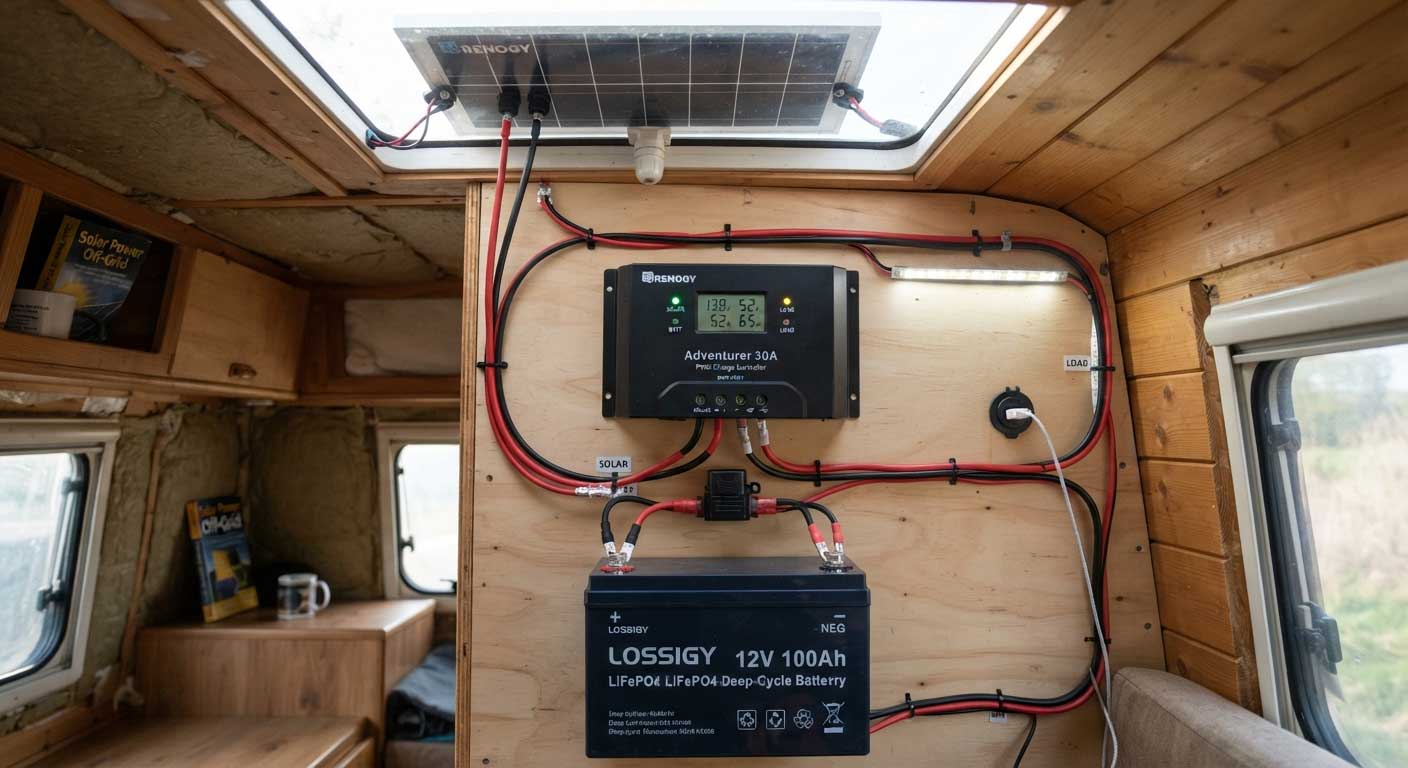
PWM (Pulse Width Modulation) controllers are simpler and usually used in smaller solar systems.
Unlike MPPT controllers, PWM controllers work best when the solar panel voltage is close to the battery charging voltage.
For example:
A 12V battery system commonly uses solar panels designed for 12V charging applications.
The basic wiring sequence:
Solar Panel
↓
PWM Charge Controller
↓
Battery
PWM Controller Wiring Steps
Step 1: Connect Battery First
Connect:
Battery positive (+)
to
Controller battery positive terminal
Battery negative (-)
to
Controller battery negative terminal
The controller uses the battery connection to identify system voltage.
Step 2: Connect Solar Panels
Connect:
Solar panel positive (+)
to
Controller solar input positive (+)
Solar panel negative (-)
to
Controller solar input negative (-)
Confirm polarity before final connection.
Step 3: Check Charging Status
After sunlight reaches the panels:
Verify:
- Charging indicator
- Battery voltage
- Solar input status
MPPT vs PWM: Which Controller Is Better?
The choice between MPPT and PWM depends on system size, panel configuration, and budget.
The differences between MPPT and PWM controllers can significantly affect solar system efficiency, especially when using higher-voltage solar arrays. For a complete comparison of controller technologies, see our guide on MPPT vs PWM charge controller for solar panels.
| Feature | MPPT Controller | PWM Controller |
|---|---|---|
| Efficiency | Higher | Lower |
| Solar voltage flexibility | Higher | Limited |
| Best for | Larger systems | Small systems |
| Series panels | Excellent compatibility | Limited |
| Cost | Higher | Lower |
| Typical applications | RV, home, off-grid | Small battery systems |
For users comparing controller technologies, Bright Solar recommends evaluating the complete solar system rather than choosing a controller based only on price.
A higher-quality controller can improve system flexibility, especially when using higher-wattage flexible solar panels or multiple solar modules.Visit product page:Flexible Solar Panels
Series vs Parallel Solar Panel Wiring for Charge Controllers
Choosing between series and parallel solar panel wiring directly affects charge controller performance.
Before selecting a wiring configuration, it is important to understand how voltage and current behave in different solar connections. Our detailed guide on solar panels in parallel vs series explains the advantages, limitations, and best applications of each wiring method.
The correct choice depends on:
- Controller type
- Battery voltage
- Solar panel specifications
- Cable distance
Series Wiring Advantages
Series solar panels increase voltage.
Benefits:
Lower Current
Lower current reduces cable losses.
Electrical losses increase with current because power loss follows the relationship:
Power Loss = Current² × Resistance
Better for Long Cable Runs
Higher voltage is useful when solar panels are installed far away from the controller.
Examples:
- Large RV roofs
- Remote cabins
- Ground-mounted solar arrays
Parallel Wiring Advantages
Parallel solar panels increase current.
Benefits:
Better for Low Voltage Systems
Suitable for:
- 12V applications
- Small off-grid systems
- Portable solar setups
Better Panel Independence
When one panel receives less sunlight, other panels can continue producing energy.
This makes parallel wiring useful for:
- Marine applications
- RVs parked under partial shade
- Flexible solar panel installations
Common Solar Charge Controller Wiring Mistakes
Mistake 1: Connecting Solar Panels Before the Battery
Many charge controllers require battery connection first.
Incorrect connection order may cause:
- Incorrect voltage detection
- Controller errors
- Improper charging settings
Recommended order:
- Battery connection
- Solar panel connection
- Load connection
Mistake 2: Exceeding Maximum PV Voltage
This is especially common with series solar panels.
Adding too many panels in series increases voltage.
Always calculate:
Total Voc
before connecting multiple panels.
Cold temperatures can increase solar panel voltage, so system design should include environmental conditions.
Mistake 3: Exceeding Controller Current Rating
Parallel wiring increases current.
Example:
Three panels:
10A each
Parallel output:
30A
The controller must support this current level.
Mistake 4: Using Incorrect Cable Size
Cable size affects:
- Voltage drop
- Efficiency
- Safety
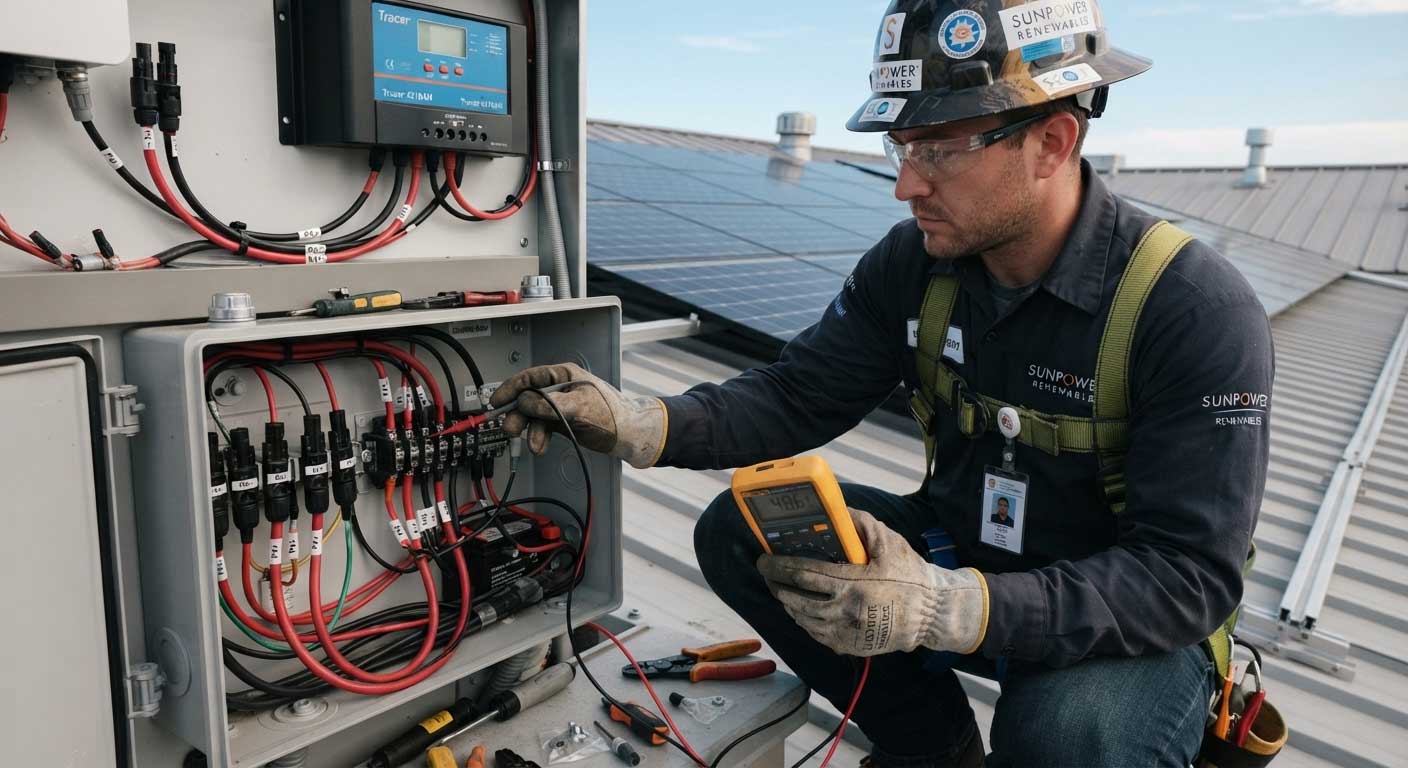
Long cable distances and high current systems require proper conductor sizing.
Mistake 5: Mixing Different Solar Panels
Combining panels with different:
- Voltage ratings
- Current ratings
- Electrical characteristics
may reduce system performance.
For best results:
Use matching solar panels whenever possible.
How Bright Solar Designs Solar Panel Systems
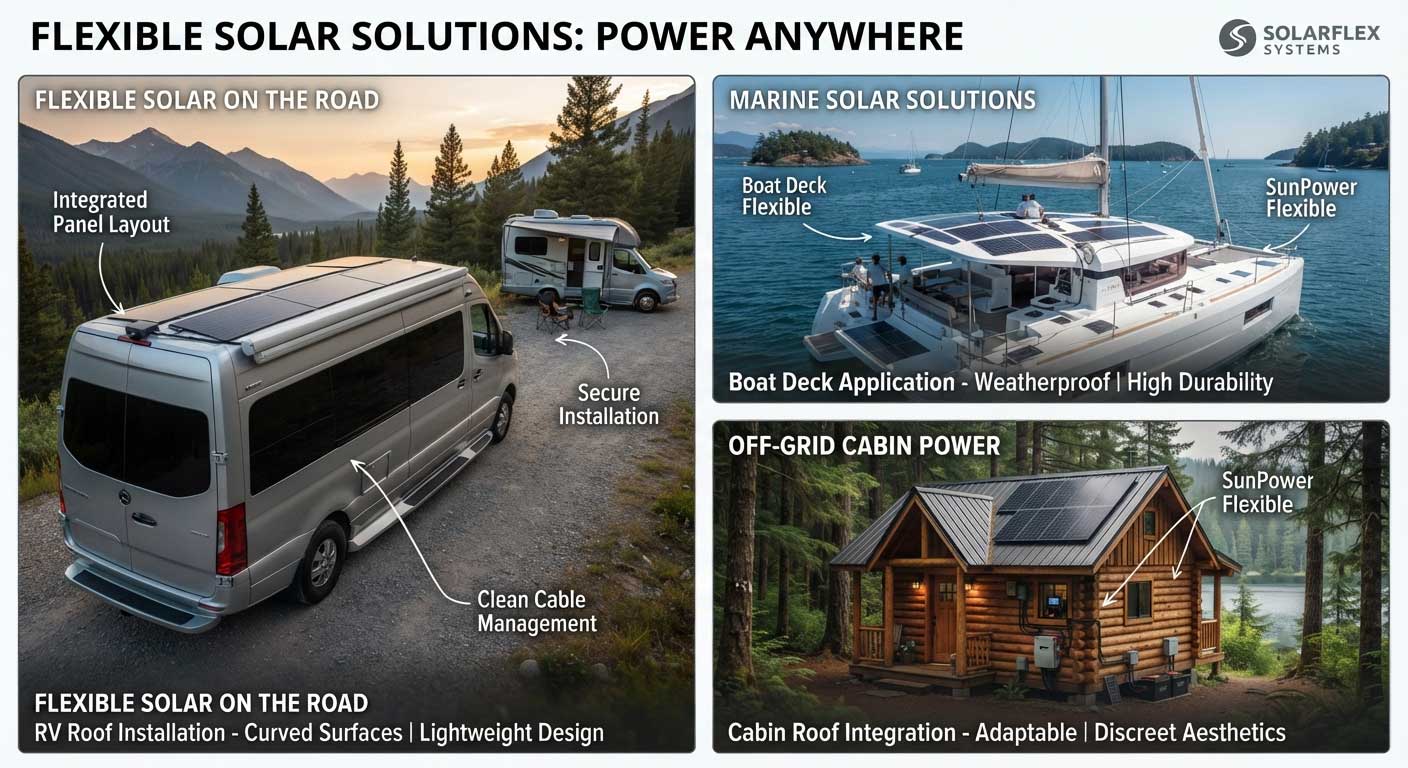
Bright Solar focuses on flexible solar panel solutions for applications where traditional rigid modules may not be practical.
Common applications include:
- RV solar systems
- Marine solar setups
- Portable solar solutions
- Off-grid power systems
Flexible solar panels require careful consideration during installation, including mounting method, cable routing, and electrical connection. Read our flexible solar panel installation guide for more information about proper setup and long-term performance.
When designing a flexible solar system, the panel connection method should be selected according to:
- Battery voltage
- Controller type
- Installation environment
- Required power output
A lightweight flexible solar panel installation may use parallel wiring for simplicity, while larger systems may benefit from series or series-parallel configurations.
FAQ About Connecting Solar Panels to Charge Controller?
Can I Connect Solar Panels Directly to a Charge Controller?
Yes.
Solar panels are normally connected directly to the PV input terminals of a charge controller.
However, the controller must match:
- Solar panel voltage
- Solar panel current
- Battery voltage
Should I Connect Solar Panels or Battery First?
In most installations, connect the battery first, then connect the solar panels.
This allows many controllers to detect the battery voltage correctly.
Can I Connect Solar Panels in Series to an MPPT Controller?
Yes.
MPPT controllers are commonly used with series-connected solar panels because they can handle higher PV input voltage ranges.
Can I Connect Solar Panels in Parallel to a PWM Controller?
Yes, if the panel voltage matches the battery charging requirements and the controller current rating is not exceeded.
How Many Solar Panels Can One Charge Controller Handle?
It depends on:
- Maximum PV voltage
- Maximum charging current
- Solar panel specifications
The number of panels should be calculated based on electrical ratings rather than panel quantity alone.
Do I Need a Fuse Between Solar Panels and Charge Controller?
Many systems require proper overcurrent protection.
Fuse requirements depend on:
- Panel short circuit current
- Number of parallel strings
- Local electrical standards
Always follow equipment manufacturer recommendations and installation regulations.
Conclusion: Correct Wiring Improves Solar System Performance
Knowing how to connect solar panels to charge controller correctly is essential for building a safe and efficient solar power system.
The key steps are:
- Check solar panel and controller specifications
- Connect the battery first
- Connect solar panels to the PV input terminals
- Configure charging settings
- Test system performance
Series wiring can provide higher voltage and lower current losses, while parallel wiring increases current and can be useful for low-voltage or shaded applications.
For RV, marine, off-grid, and flexible solar projects, selecting the right combination of solar panels, charge controllers, and wiring methods helps maximize long-term reliability.
Bright Solar provides flexible solar panel solutions designed for different installation environments, helping customers build efficient solar systems with the correct electrical configuration.
Related recommendations
-

12V Flexible Solar Panel Kit: The Complete Guide for Mobile Solar Power
127Discover how a 12V flexible solar panel kit provides lightweight, efficient power for RVs, boats, campervans, and off-grid systems. Installation tips included.
View details -
Flexible solar panel 300w: Lightweight Solar Solution for Mobile and Home Applications
175Explore flexible solar panel 300w solutions from Bright Solar. Learn power output, installation methods, real applications, durability, and how 300W flexible solar panels support modern energy needs.
View details -
Amorphous Flexible Solar Panel: Thin Film Solar Technology for Lightweight Applications
65Amorphous flexible solar panels use thin-film silicon for lightweight, flexible solar applications where adaptability and low-light response matter.
View details -
Folding Portable Solar Panels: Uses, Setup and Buying Guide
23Folding portable solar panels provide mobile solar power for camping, RVs, emergency backup, outdoor work, and portable power stations.
View details