How Are Solar Panels Installed?
How are solar panels installed? Solar panels are installed by assessing the site, mounting panels securely on the roof or ground structure, connecting electrical wiring, and integrating the system with an inverter for power generation.
Installing a solar system is more than placing panels on a roof. A successful project requires careful planning, structural evaluation, electrical design, and professional installation techniques.
At Bright Solar, we have worked with different solar applications, from residential rooftop systems to customized solar solutions. One thing we repeatedly notice is that many customers focus on the solar panel itself but overlook the installation process that determines long-term reliability.
A high-quality solar module can generate electricity for decades, but the mounting structure, wiring, and system design must work together to achieve stable performance.
Understanding the Solar Panel Installation Process
Why Professional Solar Installation Matters
A complete solar power installation involves several technical stages:
- Site evaluation
- Solar system design
- Mounting installation
- Electrical connection
- System testing
- Grid or battery integration
Each step affects the final energy output and safety of the system.
According to the U.S. Department of Energy, properly designed and installed photovoltaic systems require consideration of solar resources, electrical components, structural factors, and local regulations.
Source: U.S. Department of Energy Solar Energy Technologies Office
Step 1: Site Assessment Before Installing Solar Panels
Evaluating Roof and Installation Location
Before installing solar panels homes systems, installers inspect the property.Learn more:Solar Panel Installation Guide
Important factors include:
- Roof condition
- Roof direction
- Roof angle
- Available sunlight
- Shading from trees or buildings
- Electrical system capacity
A roof that receives strong sunlight throughout the day usually provides better solar performance.
For homeowners planning solar for home, this first inspection helps determine:
- Number of panels needed
- Best panel placement
- Expected energy production
- Suitable inverter size
Solar Site Survey Example
During a typical site visit, installers may check:
| Inspection Item | Purpose |
|---|---|
| Roof structure | Confirm mounting strength |
| Sun exposure | Estimate energy production |
| Electrical panel | Check compatibility |
| Roof measurements | Plan panel layout |
| Shading conditions | Avoid performance losses |
A detailed survey prevents installation problems later.
Step 2: Designing the Home Solar System
Choosing the Right Solar Components
A complete home solar system usually includes:
- Solar panels
- Mounting system
- Inverter
- DC cables
- AC wiring
- Monitoring equipment
- Battery storage (optional)
The system design depends on:
- Household electricity usage
- Available installation area
- Local weather conditions
- Energy goals
For example, a small home may require fewer panels, while a larger property with higher electricity demand may need a larger solar array.
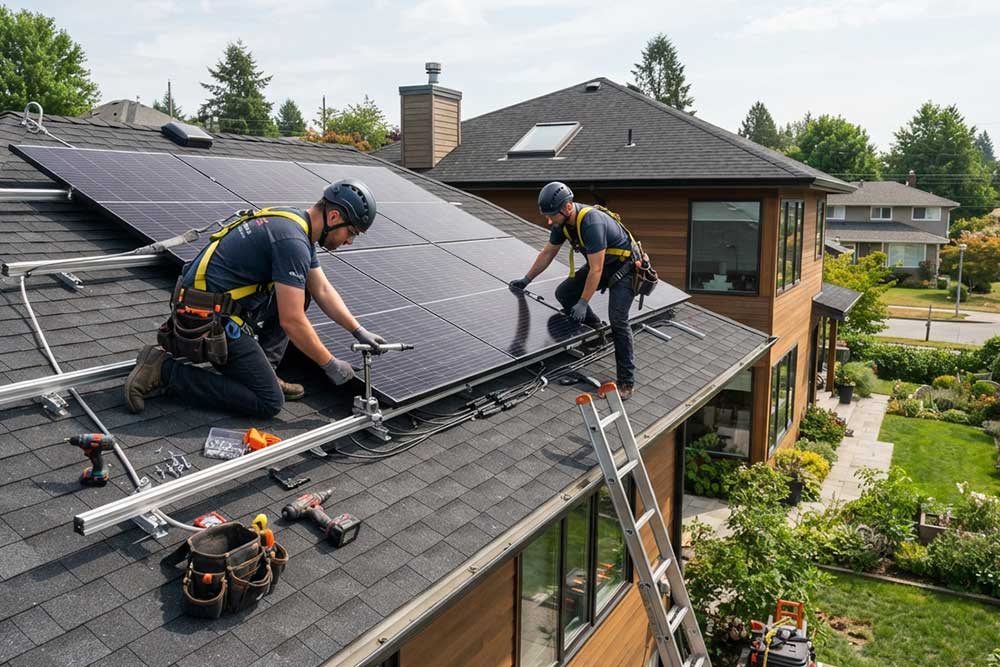
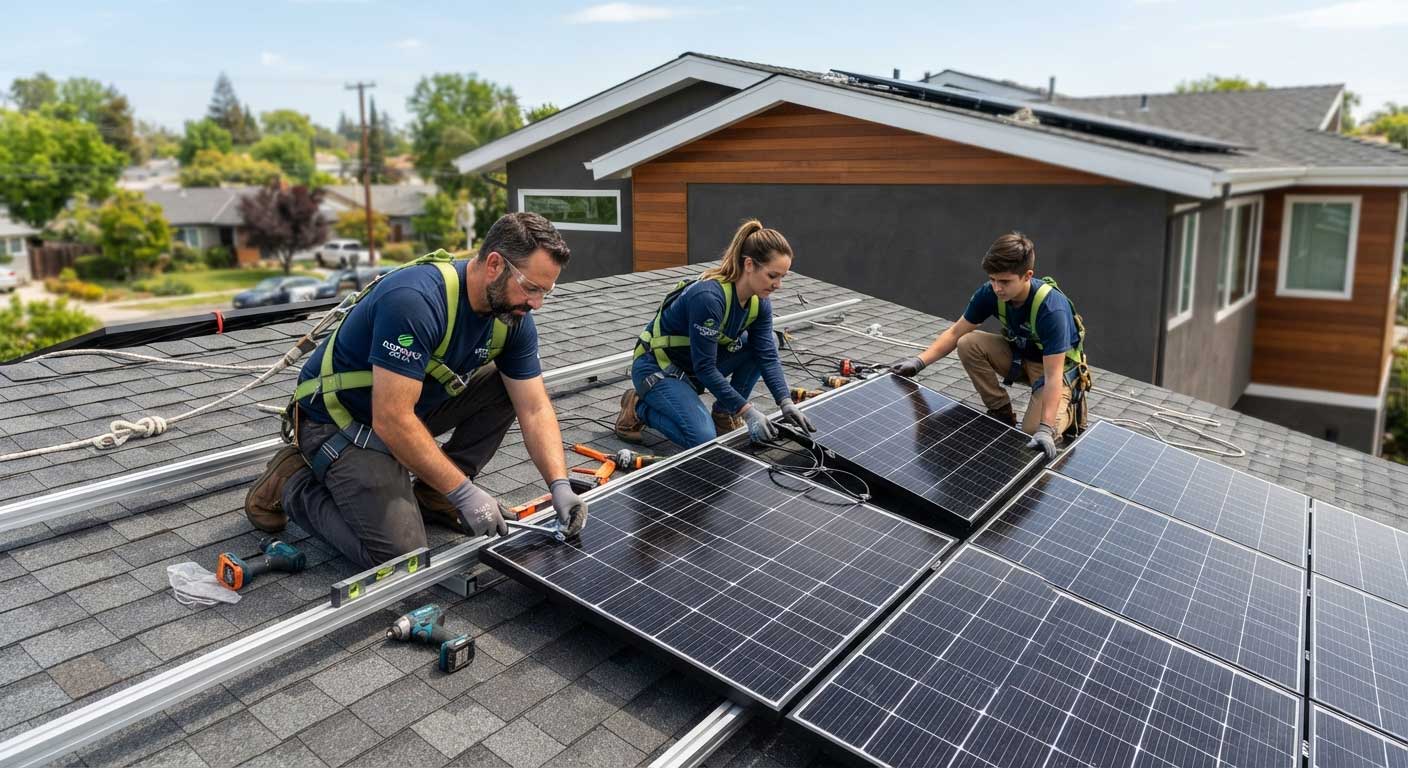
Step 3: Installing Solar Panel Mounting Structure
Securing Panels to the Roof
After design approval, installers begin mounting work.
The process usually includes:
- Marking panel locations
- Installing roof attachments
- Adding mounting rails
- Securing clamps
- Checking alignment
The mounting system must support the panels under different weather conditions, including wind and rain.
A reliable mounting structure helps:
- Prevent panel movement
- Protect roof integrity
- Maintain correct panel positioning
Step 4: Installing Solar Panels
Mounting the Photovoltaic Modules
Once the rails are installed, solar panels are placed and secured.
Installers carefully check:
- Panel spacing
- Clamp position
- Cable routing
- Mechanical stability
Panels should not only face the sun correctly but also maintain proper airflow underneath to reduce heat buildup.
Step 5: Electrical Wiring and Inverter Installation
Connecting Solar Panels to the Electrical System
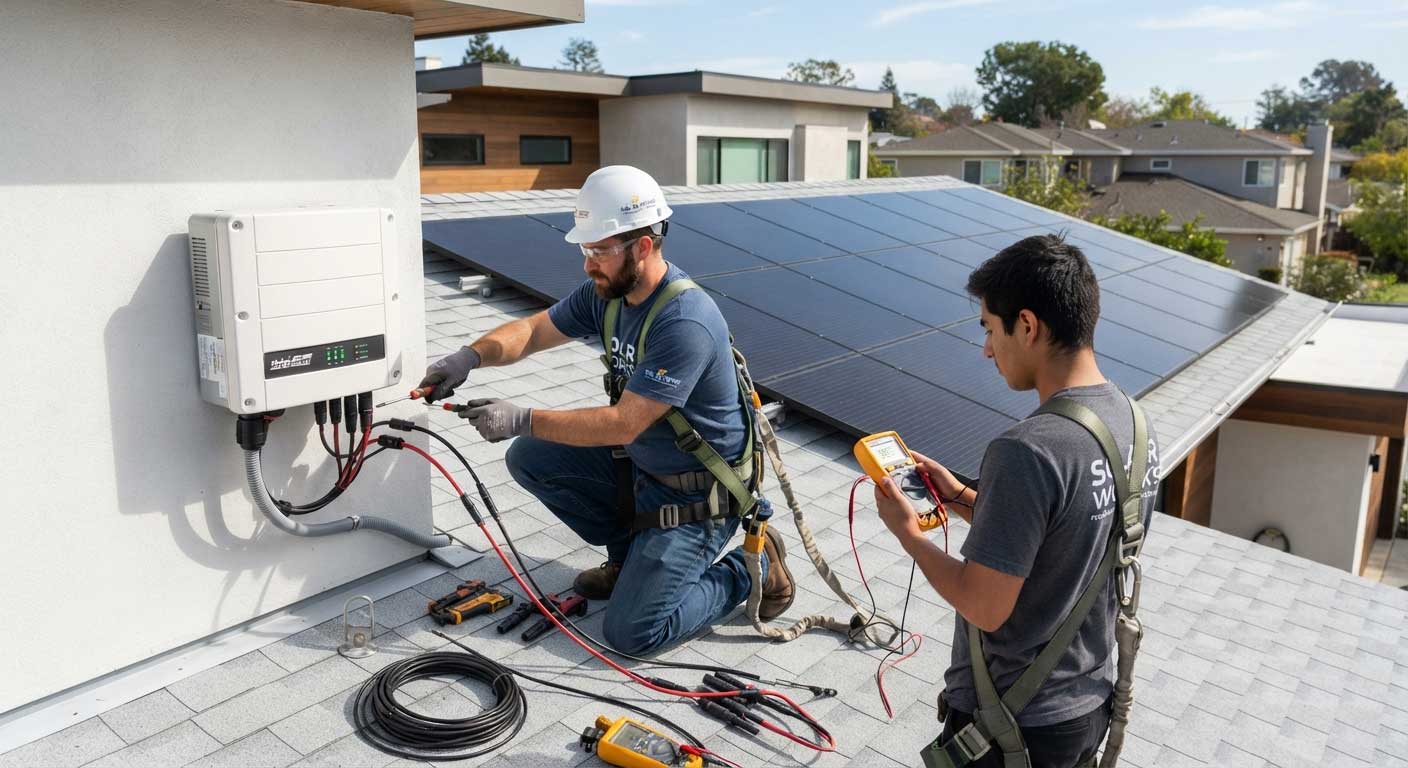
After panel installation, technicians complete electrical connections.
The process includes:
- Connecting panel strings
- Installing DC wiring
- Connecting inverter inputs
- Installing protection devices
- Connecting AC output
The inverter is an important component because it converts DC electricity from solar panels into AC electricity used by household appliances.
Step 6: Testing and System Activation
Final Solar System Inspection
Before turning on the system, installers check:
- Voltage output
- Current performance
- Wiring connections
- Grounding
- Monitoring system
A professional solar system installer ensures everything operates safely before handing the system to the homeowner.
Bright Solar Installation Experience
From our experience working with solar projects, the installation stage is where technical details become practical results.
A customer may choose premium panels, but if the system layout is not optimized, energy production may not reach expectations.
The installation team needs to understand:
- Product specifications
- Electrical design
- Roof conditions
- Local environment
At Bright Solar, we focus on matching solar technology with real application requirements instead of using a one-size-fits-all approach.
Common Mistakes During Solar Installation
Installing Panels Without Checking Shading
Even partial shading can reduce system performance.
Common shading sources:
- Trees
- Chimneys
- Nearby buildings
Incorrect Wiring Design
Poor wiring may cause:
- Energy losses
- Safety risks
- Reduced inverter performance
Ignoring Future Maintenance
A good installation should allow access for:
- Inspection
- Cleaning
- Troubleshooting
Solar Installation Timeline
A typical residential installation may include:
| Stage | Estimated Time |
|---|---|
| Site evaluation | 1–2 days |
| System design | Several days |
| Permitting | Depends on location |
| Physical installation | 1–3 days |
| Testing and activation | 1 day |
The actual timeline depends on project size, regulations, and installation complexity.
How Are Solar Panels Installed?
After the roof structure, mounting system, and panel layout are confirmed, the next stage is connecting the electrical components and making sure the system operates safely. A professional solar power installation is not only about placing panels on a roof; it involves precise wiring, protection devices, inverter configuration, and performance testing before the homeowner starts using solar energy.
Electrical Wiring and Solar Power System Connection
Once the solar modules are fixed in place, installers connect the panels using DC cables. The wiring method depends on the system design, including panel voltage, inverter specifications, and energy requirements.
Common connection steps include:
- Connecting solar panels into strings according to voltage requirements.
- Installing DC isolators and protection devices.
- Routing cables through waterproof conduits.
- Connecting the PV array to the inverter.
- Connecting the inverter output to the home’s electrical distribution board.
The inverter plays a critical role because solar panels produce direct current (DC), while most household appliances require alternating current (AC). The inverter converts the electricity into a usable form for home consumption.
From my experience reviewing residential solar projects, one of the most overlooked details is cable management. A system can use high-efficiency panels, but poorly organized wiring exposed to moisture or heat can create long-term reliability problems.
Solar Panel Installation Testing and Commissioning
Before switching on a new solar system, installers perform several checks to confirm safety and performance.
Typical commissioning procedures include:
| Testing Item | Purpose |
|---|---|
| Polarity check | Confirms correct positive and negative connections |
| Voltage measurement | Verifies string voltage matches design values |
| Insulation testing | Checks electrical safety |
| Grounding inspection | Prevents electrical hazards |
| Inverter setup | Ensures correct operation settings |
| Monitoring connection | Allows homeowners to track energy production |
A proper inspection process helps identify installation errors before they affect system performance. Industry installation guides commonly include testing procedures such as insulation resistance, continuity checks, and system commissioning before handover.
Real Installation Experience: Details That Affect Long-Term Performance
When evaluating solar installations for Bright Solar customers, I pay close attention to details that are easy to miss during a quick installation.
For example:
- Roof penetrations must be properly sealed to prevent water leaks.
- Panels need enough airflow underneath to reduce heat buildup.
- Cable connectors should be protected from direct sunlight exposure.
- The inverter location should allow ventilation and future maintenance access.
A solar system is expected to operate for decades. The installation quality during the first few days often determines whether the system performs reliably years later.
The National Renewable Energy Laboratory (NREL) highlights that system design, equipment selection, and installation practices all influence the lifetime energy production of photovoltaic systems.
How Long Does Solar Panel Installation Take?
The installation timeline depends on system size, roof complexity, permits, and weather conditions.
| Project Type | Typical Installation Time |
|---|---|
| Small residential system | 1–3 days |
| Larger home solar system | Several days |
| Commercial solar project | Several weeks |
For a typical home solar installation, the physical mounting and electrical work may be completed within a few days, while approval processes can take longer depending on local regulations.
A common mistake homeowners make is focusing only on installation speed. A rushed installation may create problems with waterproofing, wiring, or system optimization.
FQAQ About How Are Solar Panels Installed?
Can I install solar panels myself?
Some small off-grid solar projects can be installed by experienced DIY users. However, rooftop home solar systems usually require professional installation because electrical connections, roof safety, grounding, and local regulations must be considered.
How long does a solar panel installation take?
Most residential installations can be completed within one to three days after all equipment and approvals are ready. Larger systems may require additional time.
Do solar panels damage the roof?
Properly installed solar panels normally do not damage roofs. Correct mounting hardware, waterproof flashing, and professional installation help protect the roof structure.
What equipment is needed for solar installation?
A complete system usually includes solar panels, mounting brackets, DC cables, inverter, protection devices, monitoring equipment, and electrical connection components.
Should solar panels be installed by a certified installer?
Yes. Certified installers understand electrical standards, structural requirements, and safety procedures, helping ensure better system performance and reliability.
Conclusion: How Are Solar Panels Installed Correctly?
Understanding how are solar panels installed helps homeowners make better decisions before investing in solar energy. A successful installation combines roof assessment, secure mounting, accurate wiring, inverter setup, and detailed testing.
At Bright Solar, we believe solar installation is not just a construction task. It is a long-term energy investment where every bracket, cable, and connection contributes to system reliability. A carefully installed solar system can provide clean energy for many years while supporting a more sustainable home.
The prev: How to Join Solar Panels?The next: How do you wire solar panels?
Related recommendations
-

how much power does a solar panel produce?
264Learn how much power does a solar panel produce with real output data, watt examples, energy calculations, and Bright solar expert insights.
View details -
What will a 100 watt solar panel kit run?
265What will a 100 watt solar panel kit run? Discover appliances, power limits, battery needs, and real-world applications of 100W solar kits with Bright Solar.
View details -
how big are solar pv panels?
178how big are solar pv panels? Learn standard solar panel dimensions, sizes, weights, and how to choose the right PV panel size for homes, RVs, and off-grid systems.
View details -
How Do You Install Solar Panels?
137Solar panels are installed by assessing the site, planning the array, mounting the modules, connecting wiring and system equipment, then completing testing, ...
View details