Fitting Flexible Solar Panels: A Practical Installation Guide
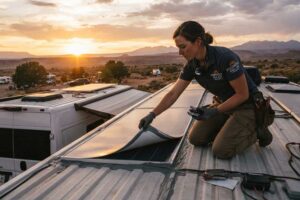
Fitting flexible solar panels requires a compatible mounting surface, careful panel positioning, secure attachment, and correct electrical connections. Before installation, check the panel’s bending limits, roof material, ventilation, wiring requirements, and manufacturer instructions. A neat fit is not just about appearance: poor bonding or trapped heat can affect long-term performance.
Flexible panels are often chosen for RV roofs, campervans, boats, and other surfaces where conventional rigid modules may be difficult to install. But “flexible” does not mean that a panel can be folded, forced around sharp corners, or glued to any surface. The right installation method depends on the panel construction, the surface it will sit on, and the conditions it must withstand.
This guide explains how to plan and fit flexible solar panels, what to inspect before applying adhesive or fasteners, and how to avoid common installation mistakes. It also covers practical considerations for RV and marine projects, with Bright Solar product options discussed only where their stated features are relevant.
What to Check Before Fitting Flexible Solar Panels
A flexible module can follow a gentle curve, but its cells and internal connections still have mechanical limits. The installation should match the panel’s own instructions—not a general rule copied from another product.
1. Confirm the surface is suitable
Inspect the roof or mounting surface before unpacking the panel.
- Material: Identify whether the surface is aluminum, fiberglass, a coated metal roof, or another material. Adhesive compatibility varies.
- Condition: Look for loose coatings, cracks, corrosion, peeling sealant, and previous repairs.
- Shape: Check whether the curve is gradual and within the panel’s permitted bending range.
- Drainage: Avoid placing the panel where water, dirt, or debris will collect.
- Heat and airflow: Consider how much ventilation the installation will allow beneath the module.
For vehicle roofs, also check whether the planned location interferes with roof vents, air-conditioning units, antennae, hatches, or maintenance access. On boats, consider deck movement, salt exposure, standing water, and the possibility of people stepping on the panel.
2. Read the module’s installation and warranty documents
Before selecting adhesive, tape, brackets, or fasteners, confirm:
| Item to verify | Why it matters |
|---|---|
| Permitted mounting methods | Not every flexible panel is approved for every adhesive or fixing method. |
| Minimum bend radius or bending limit | Excessive curvature can damage cells or electrical connections. |
| Approved surface materials | An adhesive suitable for metal may not bond reliably to a coated or flexible surface. |
| Ventilation requirements | Close mounting can restrict cooling and raise module temperature. |
| Operating temperature | The panel and mounting materials must suit the expected environment. |
| Warranty conditions | Unapproved drilling, bonding, or modification may affect warranty coverage. |
| Cable and connector details | The electrical layout must suit the charge controller and system design. |
SunPower’s flexible-module installation instructions, for example, specify an operating-temperature range of −40°C to +85°C for the modules covered by that manual and call for ventilation behind or beneath them, particularly in hot environments. Those values are product-specific—not universal specifications for all flexible solar panels.
3. Plan the layout before bonding
Place the panel in its intended position without removing any protective backing. Check clearances, cable routes, and whether the panel lies naturally against the surface.
A useful pre-installation checklist:
- Measure the available area and compare it with the panel dimensions.
- Leave room for connectors, cable bends, and any required access points.
- Identify likely shade from roof equipment, railings, masts, or nearby structures.
- Check the cable route to the charge controller and battery system.
- Confirm that the mounting surface is clean, dry, and within the adhesive manufacturer’s application-temperature range.
- Make sure the panel can be installed without stretching, twisting, or forcing it into shape.
Field note: A dry layout is the time to discover that a connector lands beneath a roof hatch. Once a panel is bonded down, correcting a few centimetres of poor positioning can become a much bigger job.
Fitting Flexible Solar Panels: Step-by-Step Installation
The sequence below is a general planning guide. The panel manufacturer’s instructions, the adhesive supplier’s technical data, and applicable electrical rules take priority. If the installation involves permanent vehicle or vessel wiring, use a qualified installer where required.
Step 1 — Isolate the electrical system
Before connecting or disconnecting components, follow the charge controller and battery manufacturer’s shutdown procedure. Cover the panel or keep it disconnected as directed during wiring work; a solar module can produce voltage whenever it is illuminated.
Do not cut, extend, or modify factory cables unless the manufacturer permits it. Use connectors and cable sizes suitable for the system’s current, voltage, environment, and installation method.
Step 2 — Prepare the mounting surface
Remove dust, grease, wax, salt residue, and loose material using a cleaning method compatible with the roof and the panel. Allow the surface to dry fully.
Do not assume that a surface is ready simply because it looks clean. Some roof coatings have low surface energy, and some cleaning agents leave residues that interfere with bonding. Test the selected preparation method in an inconspicuous area if the surface finish is uncertain.
Step 3 — Position the panel and check its natural fit
Set the module down in the planned location. It should sit without being pulled tight or pressed over a sharp ridge. Check the edges and corners, and confirm that the cable outlet is not under tension.
If the roof has a pronounced curve, compare it with the module’s specified bending limit. Do not crease the panel, fold it for convenience, or use force to make it follow a shape the manufacturer has not approved.
Step 4 — Apply the approved mounting method
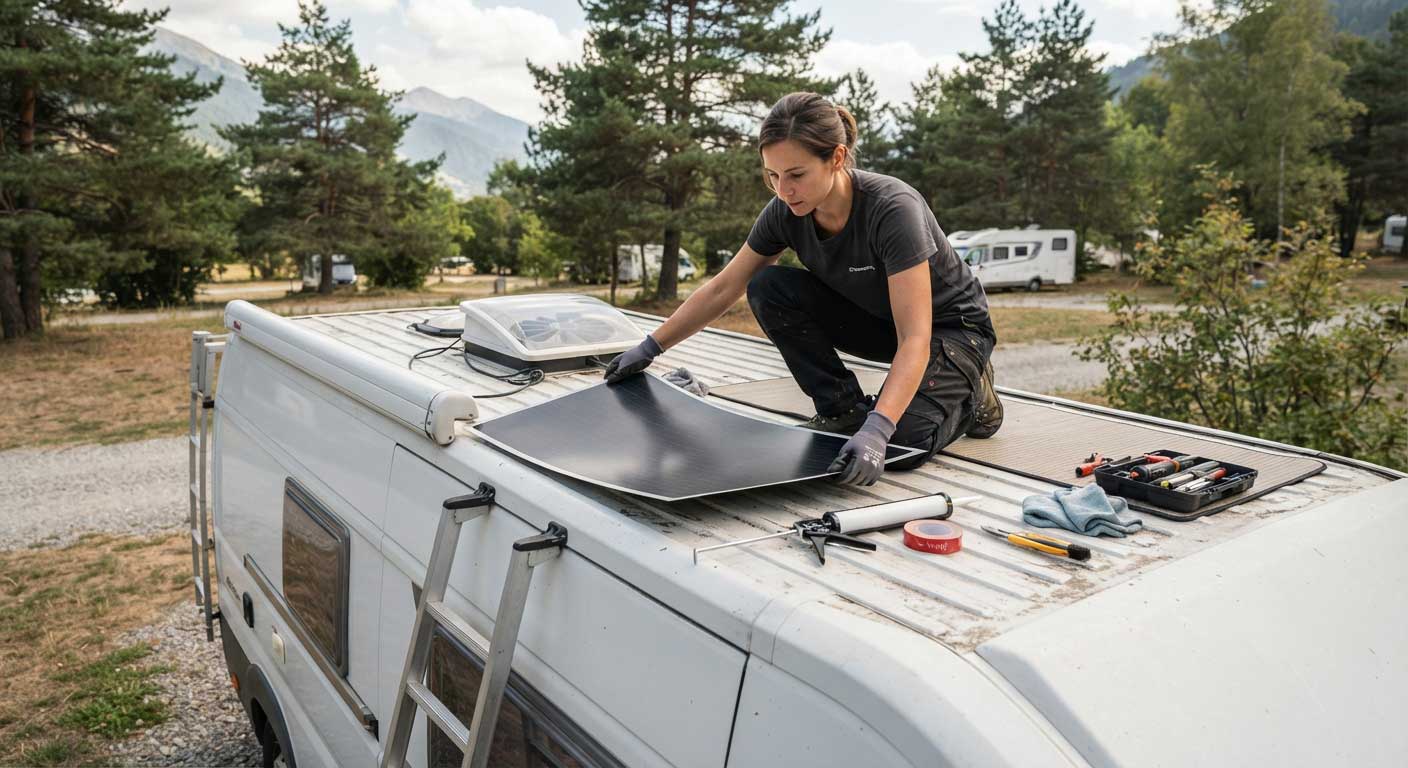
Use only a mounting method approved for the particular module and substrate. Depending on the design, this may involve a specified structural adhesive, approved adhesive tape, mechanical mounting points, or a dedicated mounting system.
For adhesive installations:
- Check the adhesive’s compatibility with both surfaces.
- Follow the specified bead pattern, coverage, and application thickness.
- Observe the required working time and curing conditions.
- Avoid trapping dirt, moisture, or unintended air pockets.
- Keep the panel supported and undisturbed for the required curing period.
Do not substitute household silicone, general-purpose glue, or an unverified tape merely because it is readily available. A bond that holds during a stationary test may behave differently under vibration, heat cycling, wind, or water exposure.
Step 5 — Secure the cables and complete the connections
Route cables so they are protected from abrasion, sharp edges, heat, standing water, and moving parts. Avoid tight bends and unsupported cable spans. Use suitable clips, glands, and weather protection rated for the installation environment.
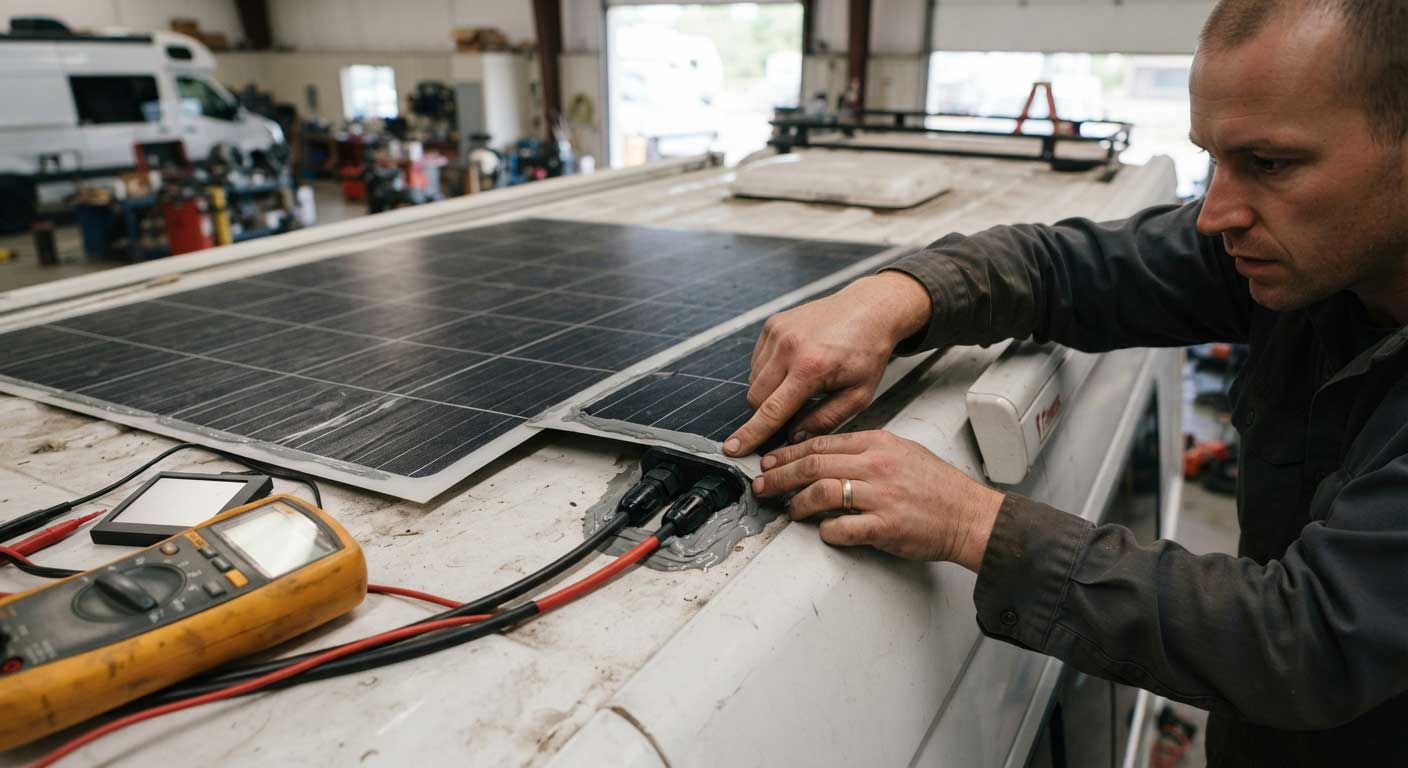
Connect the module to the charge controller and the rest of the system according to the wiring diagram. Check polarity before making the final connection. Confirm that the controller’s PV input voltage and current limits are compatible with the module or array, including any required cold-weather voltage allowance.
Step 6 — Inspect and test the installation
After mounting and wiring:
- Inspect the perimeter and fixing points for gaps, lifting, or uneven pressure.
- Confirm that cables are supported and connectors are fully mated.
- Check polarity and electrical values using appropriate instruments and safe procedures.
- Verify controller settings and confirm that the system is charging as expected.
- Record the module model, serial number, installation date, mounting method, and any test readings.
Do not treat one successful power reading as proof that the installation is secure. Mechanical attachment, cable protection, weather sealing, and electrical performance all need separate checks.
Common Installation Mistakes and How to Avoid Them
Bonding directly to a dirty or unsuitable roof
Dust, wax, oxidation, and degraded coatings can weaken an adhesive joint. Clean and prepare the substrate according to the adhesive manufacturer’s directions, and verify compatibility rather than relying on appearance alone.
Ignoring heat and airflow
Flexible panels are often mounted close to a roof, but restricted airflow can increase operating temperature. NREL’s System Advisor Model distinguishes between open-rack, flush, integrated, and gap mounting because the mounting configuration affects module temperature calculations.
A separate NREL study reports that roof-mounted module temperature depends on location and mounting configuration; limited airflow in hot conditions can push high-percentile temperatures above 70°C in the studied circumstances. That finding is not a prediction for every RV or flexible module, but it shows why the mounting arrangement should not be treated as a cosmetic detail.
Forcing the panel over a tight curve
A flexible panel is not necessarily foldable. If the roof contour exceeds the product’s allowed bending limit, select a different mounting location or a module designed for that geometry. Never force a panel into place and assume the outer surface will reveal any internal damage.
Choosing an adhesive without checking compatibility
Adhesive performance depends on the panel backing, substrate, preparation, temperature, moisture, and curing process. The fact that a product is marketed as “weatherproof” does not establish that it is suitable for permanently mounting a particular solar module on a moving vehicle or vessel.
Leaving cables exposed to movement or abrasion
Vibration and repeated movement can wear through insulation or stress connectors. Secure the wiring, protect it at penetrations, and keep it clear of hinges, sharp edges, hot components, and areas where water collects.
Fitting Flexible Solar Panels on RVs, Boats, and Off-Grid Surfaces
RVs and campervans
On an RV, the available roof area is often interrupted by vents, air conditioners, skylights, and antennas. Draw a simple roof plan and mark these obstacles before choosing panel dimensions. Also consider whether the roof can be safely accessed for future inspection.
A low-profile module may be useful where height and weight matter, but the installation still needs a secure attachment and a cable route that will tolerate road vibration. Avoid positioning a panel where routine roof maintenance could damage it.
Boats and marine applications
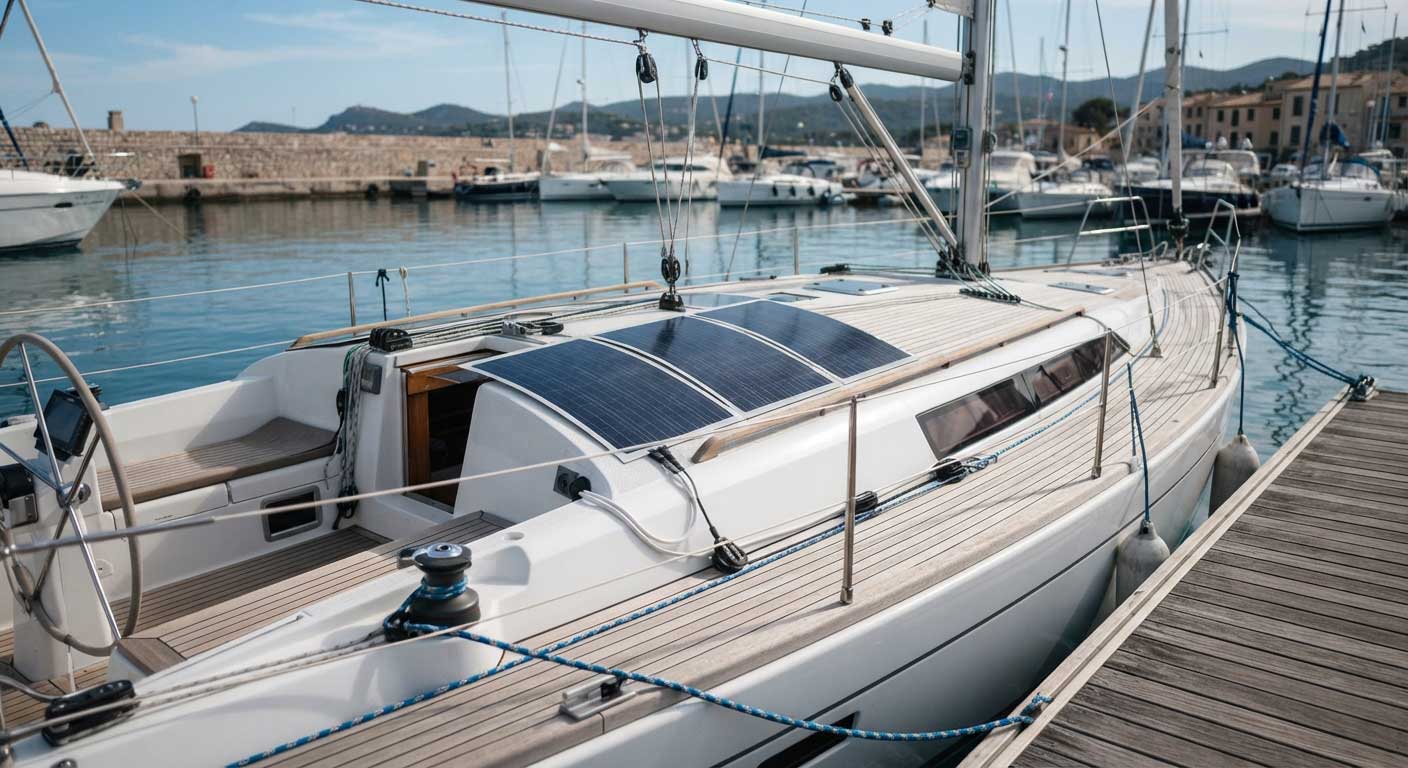
Marine installations add salt, moisture, deck movement, and possible foot traffic to the list of concerns. Confirm that the selected panel is suitable for the intended marine environment. If the deck is used as a walking surface, do not assume a flexible module is walkable unless the manufacturer explicitly rates it for that use.
Use corrosion-appropriate hardware and marine-suitable cable protection where specified. Seal penetrations using a method compatible with the deck material, and avoid blocking drainage channels.
Small off-grid structures
Sheds, cabins, and other off-grid surfaces can provide useful mounting space, but they may have different structural and thermal conditions from vehicle roofs. Check roof strength, surface condition, shading, ventilation, and access for maintenance. A permanent building installation may also be subject to local electrical and building requirements.
Practical Example — Planning a Flexible Solar Panel Installation
The following is an illustrative planning example, not a report of a verified customer installation or a promise of system output.
Imagine a campervan owner considering a nominal 200 W flexible solar array. The owner measures the available roof area, marks the roof vent and antenna, and checks the module dimensions against the remaining space. Before purchasing mounting materials, the owner confirms the approved attachment method, surface compatibility, bending limit, and ventilation requirements.
For a simple energy-planning estimate, suppose the array receives an average of 4 peak-sun-hours per day. Multiplying nominal array power by this assumed sunlight figure gives:
200 W × 4 hours = 800 Wh per day, before system losses.
This is a theoretical energy estimate, not a guaranteed daily yield. Actual output will depend on shading, orientation, weather, module temperature, wiring, controller performance, and other site-specific conditions. A sound design should compare expected energy production with the owner’s daily loads and include realistic allowances for losses.
The important installation decision comes before the arithmetic: if the roof cannot accommodate the module without obstructing access, exceeding its permitted curvature, or violating mounting instructions, the layout should be revised rather than forcing the panel into the space.
Bright Solar Flexible Solar Panel Options
For B2B buyers and project planners, Bright Solar offers flexible and semi-flexible solar panel options for applications where conventional framed modules may not suit the available surface.
The Bright Solar L Series is described as a lightweight flexible panel range with a maximum bending capacity of up to 30%. The range uses a DuPont ETFE surface and is described as salt-water resistant. These characteristics should be checked against the specific model’s technical documents and intended application before installation.Learn more about the Flexible Solar Panel Installation Guide
Bright Solar’s H Series is intended for marine and yacht applications and is described as having a double-ETFE construction, a walkable design, and an IP67 junction box. Confirm the exact model’s permitted mounting method, environmental ratings, and walk-on conditions; a range-level description should not replace model-specific instructions.
For OEM, ODM, and bulk projects, buyers should provide the manufacturer with:
- Application and installation environment
- Required dimensions and available mounting area
- Roof or substrate material and curvature
- Expected temperature and exposure conditions
- Electrical system voltage and controller specifications
- Quantity, connector, cable, and customization requirements
This information helps establish whether a proposed module and mounting arrangement are suitable before production or installation begins.
FAQ About Fitting flexible solar panels
Can flexible solar panels be glued directly to a roof?
Some flexible modules can be installed using an approved adhesive, but this depends on the panel design, roof material, and adhesive system. Follow the module manufacturer’s instructions and verify substrate compatibility before bonding.
Do flexible solar panels need ventilation underneath?
Ventilation requirements vary by product and mounting design. Close mounting can restrict airflow and raise module temperature, so follow the manufacturer’s stated requirements rather than assuming that every flexible panel should be fully bonded flush to the roof.
Can I bend a flexible solar panel around a sharp corner?
Not unless the manufacturer specifically permits that curvature. Check the panel’s bending limit or minimum bend radius and avoid creasing, twisting, or forcing the module over a sharp edge.
Can I install flexible solar panels on a boat?
Yes, if the selected module is suitable for the marine environment and the mounting surface and method are approved. Check exposure ratings, attachment strength, cable protection, and whether the panel is intended for areas exposed to foot traffic.
Should I use ordinary silicone to mount a flexible solar panel?
Do not assume ordinary silicone is suitable. Use only a mounting system approved for the module and compatible with the substrate. An unsuitable adhesive can fail under heat, moisture, movement, or vibration.
How do I check whether the installation is working?
Inspect the attachment and wiring, verify polarity and system settings, and check electrical performance using safe, appropriate procedures. Compare readings with the expected operating conditions; one reading in changing sunlight does not establish long-term performance.
What information should I provide when ordering flexible solar panels for a project?
Provide the application, available dimensions, substrate material, curvature, environmental conditions, electrical requirements, connector preferences, and expected quantity. For customized B2B projects, also identify any relevant mounting or certification requirements.
Conclusion
Fitting flexible solar panels successfully starts with choosing a compatible module and preparing a suitable mounting surface. Careful layout, approved attachment materials, protected wiring, and attention to heat and airflow all contribute to a reliable installation. Avoid forcing the panel into an unsuitable curve or improvising with unverified adhesives.
For RV, marine, and off-grid projects, fitting flexible solar panels should always follow the product-specific installation instructions and the requirements of the actual site. Bright Solar’s flexible panel ranges may provide options for B2B applications, but the final selection should be based on the exact model specifications, mounting conditions, and project needs.
Related recommendations
-

Flexible solar panel for car: Lightweight Solar Energy Solution for Modern Vehicles
285Discover flexible solar panel for car solutions from Bright Solar. Learn how lightweight solar panels improve vehicle energy efficiency for EVs, RVs, and off-grid automotive applications.
View details -
200W Flexible Solar Panel: Lightweight Solar Power for RV, Marine, and Off-Grid Use
288200w flexible solar panel solutions for RVs, boats, and off-grid travel. Discover lightweight ETFE solar panels with high efficiency and real-world durability.
View details -
mounting flexible solar panels (Field Installation Guide from Bright Solar)
254mounting flexible solar panels explained with real RV roof installations, adhesive methods, airflow design, durability insights, and field-tested mounting practices.
View details -
400 W Solar Panel: Real-World Power Output, Applications, and Buying Guide
281Discover how a 400 w solar panel performs in real-world conditions. Learn daily power production, battery charging capacity, installation methods, and expert buying advice from Bright Solar.
View details