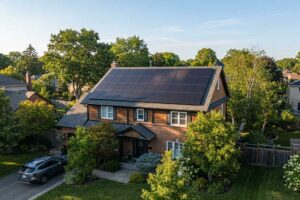
Fitting Flexible Solar Panels to Van Roof: A Practical Guide
Fitting flexible solar panels to van roof surfaces starts with checking the roof material, panel dimensions, permitted bending limits, and approved mounting method. Clean and prepare the surface, dry-fit the module, secure it as instructed, protect the wiring, and test the system before regular use.
Flexible solar panels can be useful for campervan and van-conversion projects where roof height, weight, or shape makes conventional framed modules less convenient. But a low-profile installation still needs careful planning. The panel must suit the roof, the attachment must withstand the vehicle’s operating conditions, and the electrical system must be designed around the module’s actual specifications.
This guide covers roof assessment, mounting preparation, installation steps, common mistakes, and practical checks for van owners and installers. It also includes a realistic planning example and Bright Solar product considerations for B2B projects.
Why Fit Flexible Solar Panels to a Van Roof?
Van roofs are rarely uninterrupted flat surfaces. Roof vents, skylights, air-conditioning units, antennae, roof racks, and curved bodywork can make panel layout more complicated than it first appears.
Flexible solar panels may offer useful design options for some of these installations:
- Low-profile integration: A suitable flexible module can sit closer to the roof than a conventional framed panel.
- Reduced module weight: The actual weight depends on the model, so compare product datasheets rather than assuming all flexible panels are lightweight.
- Adaptation to gentle contours: Some modules can accommodate a limited curve when installed within the manufacturer’s specified bending range.
- Space-conscious layouts: Panel dimensions and cable locations can sometimes make it easier to work around roof equipment.
- Mobile power applications: A van-based system may support a leisure battery, lighting, ventilation, refrigeration, electronics, or other compatible loads, depending on the array and system design.
These advantages do not mean every van roof is suitable. A flexible panel is not automatically a substitute for a framed module, and a thin construction does not remove the need for secure attachment, thermal management, and safe wiring.
Inspect the Van Roof Before Installation
Identify the roof material and condition
First, establish what the panel will be attached to. A van roof may be painted steel, aluminum, fiberglass, a composite panel, or a conversion roof with an aftermarket coating. Adhesive compatibility can differ significantly between these surfaces.
Look closely for:
- Peeling paint or coating
- Corrosion, cracks, or damaged fiberglass
- Old sealant or adhesive residue
- Roof seams and raised ribs
- Areas where water tends to collect
- Existing holes, wiring penetrations, or repairs
If the surface is damaged or the coating is unstable, resolve that issue before installing the panel. An adhesive bond is only as reliable as the surface it adheres to.
Measure around roof equipment
Measure the usable roof area—not just the overall roof dimensions. Mark roof vents, fans, skylights, racks, and other equipment on a simple sketch. Include space for connectors, cable bends, access, and any mounting clearances required by the manufacturer.
A layout that looks spacious from the ground can become crowded when the panel is placed on the roof. Also consider shadows. A roof vent or rack can shade part of a module as the sun moves, and the effect on output depends on the panel’s electrical design and the shading pattern.
Check curvature and mounting limitations
Flexible modules have specific mechanical limits. Check the manufacturer’s bending instructions and minimum bend radius, where provided. Do not fold the panel, crease it, twist it, or press it over a sharp roof ridge to make it fit.
The permitted curve is product-specific. A panel described as flexible may still require a relatively smooth surface and a particular installation orientation.Learn more about the Flexible Solar Panel Installation Guide
Choosing a Mounting Method for a Van Roof
There is no single mounting method that suits every flexible solar panel. The module manufacturer’s instructions should determine whether the panel can be bonded, attached with approved mechanical fixings, or installed using a dedicated mounting system.
Adhesive bonding
Adhesive bonding can create a low-profile installation, but the adhesive must be compatible with both the panel’s backsheet and the van’s roof surface. Roof paint or coating condition is especially important: bonding to a weak coating does not make that coating stronger.
Scott Bader’s flexible solar panel installation guide recommends checking roof compatibility and preparing the surface before bonding. Its instructions also emphasize that application conditions and the adhesive bead arrangement matter. These are instructions for its specified adhesive system, not a universal adhesive recipe for all panels.
Mechanical fixing
Some flexible modules include mounting holes or allow specific mechanical fixings. Use them only as directed by the manufacturer. Any roof penetration must be planned carefully to protect the vehicle against water ingress and corrosion.
Mechanical fixing may be suitable for some projects, but the installer must account for roof construction, sealing, vibration, and the module’s permitted attachment points. Never drill through a panel or roof simply because a fixing would be convenient.
Dedicated mounting systems
A purpose-designed mounting system may help create a controlled gap beneath the module or provide a defined attachment interface. Check that it is designed for the module type, roof material, and vehicle environment. Confirm whether the system changes the panel’s height, wind exposure, or service access.
Important: Do not combine adhesives, tapes, brackets, and fasteners into an improvised arrangement unless the panel manufacturer approves that combination.
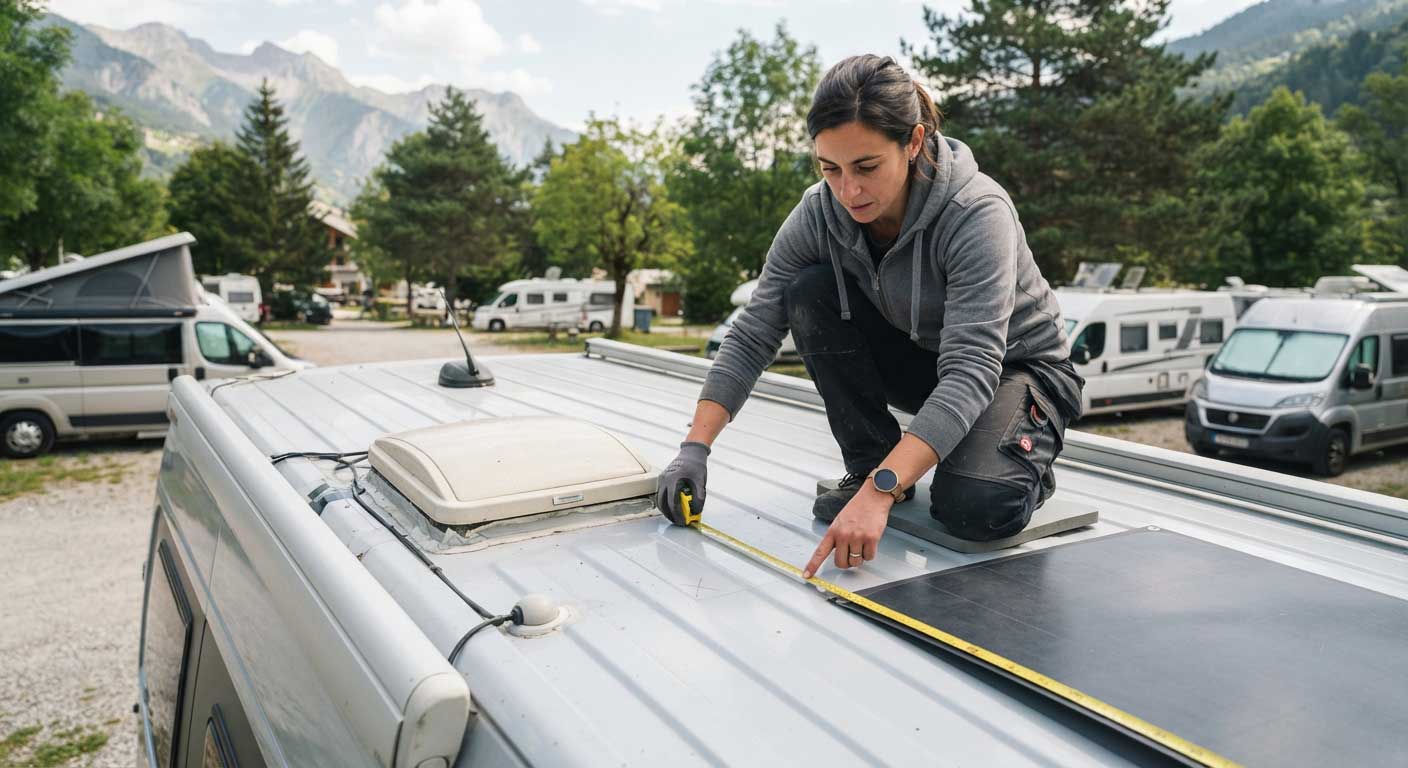
Step-by-Step — Fitting Flexible Solar Panels to Van Roof
Step 1 — Gather the correct materials and tools
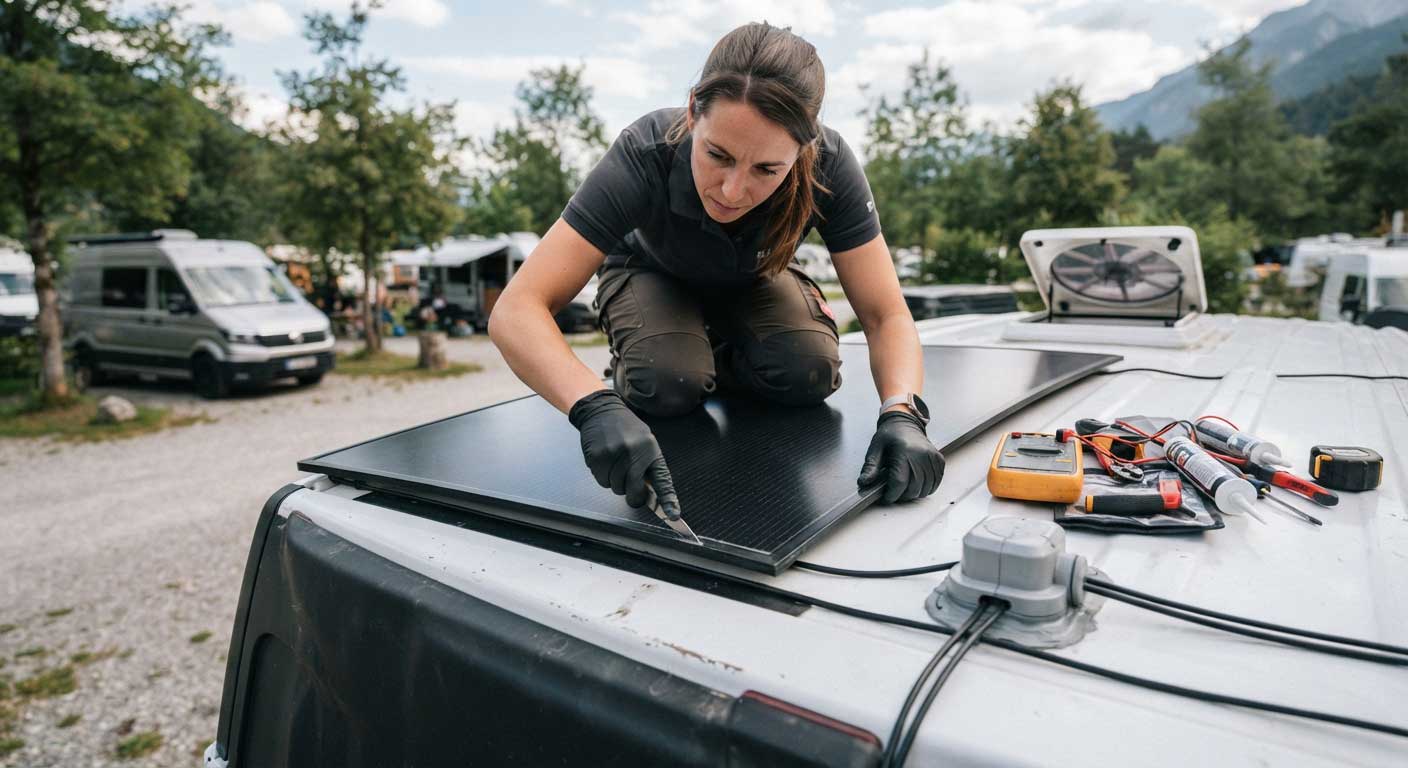
Prepare the equipment required by the panel and mounting-system instructions. Depending on the approved method, this may include:
- Flexible solar module and its installation manual
- Measuring tape and non-damaging marking materials
- Roof-compatible cleaning supplies
- Approved adhesive, tape, brackets, or fixings
- Required applicator and surface-preparation tools
- Suitable cable clips, glands, and protective conduit
- Electrical test equipment appropriate for the system
- Personal protective equipment and safe roof-access equipment
Do not select adhesive or tape by brand recognition alone. The exact product, surface preparation, primer requirements, bead pattern, and curing conditions may all be important.
Step 2 — Clean and inspect the roof
Wash the intended area and remove contaminants using a method suitable for the roof material. Let the surface dry. Inspect the paint or coating for peeling, cracking, blistering, or separation.
For older coated metal roofs, additional checks may be appropriate. Scott Bader’s installation guidance describes assessing coating condition and, in specified circumstances, using adhesion testing before bonding. Its guide also provides adhesive-specific surface-temperature and preparation instructions. Follow the relevant guide rather than applying its figures to an unrelated adhesive.
Step 3 — Dry-fit the module
Place the panel gently in its planned position without peeling away backing material or applying adhesive. Check:
- Whether the module lies naturally against the roof.
- Whether its corners and edges fit without force.
- Whether roof equipment creates shade or blocks access.
- Whether cables can reach the planned entry point safely.
- Whether the panel leaves any required ventilation or drainage space.
If the van roof has raised ribs, do not assume the panel can bridge them unsupported. Some installation manuals require an even mounting surface or preparation to fill gaps between roof ridges. Follow the requirements for the exact module.
Step 4 — Apply the approved attachment system
For an adhesive installation, confirm that the roof and ambient conditions fall within the adhesive’s application limits. Measure the surface temperature if required; a roof exposed to direct sun may be much hotter than the surrounding air.
Apply the adhesive or tape exactly as specified. Avoid contaminating prepared surfaces with fingers, dust, or tools. When positioning the panel, work slowly from the designated starting edge and apply pressure only as directed. Do not pull the module taut to remove a wrinkle or force it down over a roof feature.
If temporary support or restraint is required while the adhesive cures, use a method that will not damage the panel surface. Respect the full curing time before exposing the installation to driving conditions, rain, or other loads, as directed by the adhesive and module manufacturers.
Step 5 — Route and protect the cables
Cable routing deserves as much attention as panel placement. Plan a route that avoids:
- Sharp metal edges and unprotected holes
- Hot exhaust or engine components
- Hinges, sliding mechanisms, and moving roof equipment
- Areas where water regularly pools
- Locations where luggage or maintenance work could crush the cable
Use suitable cable protection and strain relief. Seal roof penetrations with components and methods appropriate to the vehicle and installation. Keep connectors accessible where required, and do not leave a connector suspended under tension.
Step 6 — Connect the controller and battery system
Follow the charge controller and battery manufacturers’ connection sequence. Confirm the module’s voltage and current specifications, array configuration, connector type, and polarity before making connections.
The controller must be compatible with the panel or array under expected conditions, including the maximum voltage that may occur in cold weather. If several modules are connected, check the electrical effects of series and parallel wiring and ensure the controller remains within its limits.
If you are not qualified to perform the electrical work, have a competent installer complete or inspect it. Incorrect wiring can damage equipment and create a safety hazard.
Step 7 — Inspect, test, and document
Before regular use, inspect the full installation:
- Check panel edges and fixing points for lifting or gaps.
- Confirm that cables are supported and protected.
- Verify connectors are fully engaged and polarity is correct.
- Check controller settings and system readings using appropriate procedures.
- Confirm that roof penetrations and seals are intact.
- Record the module model, serial number, installation date, and mounting method.
Reinspect the installation after the first few journeys and periodically thereafter. Look for edge lifting, chafed cable insulation, loose fixings, damaged sealant, or changes in the roof surface. The inspection interval should reflect the manufacturer’s instructions and how the vehicle is used.
Heat, Airflow, and Performance on a Van Roof
A close-fitting panel can look tidy, but a roof installation must also account for operating temperature. Solar modules convert only part of the incoming sunlight into electricity; some energy becomes heat. The way a module is mounted affects how that heat is dissipated.
NREL’s System Advisor Model documentation distinguishes between mounting configurations such as open-rack, flush, integrated, and gap mounting in its module-temperature modeling. That distinction matters because the mounting arrangement affects the temperature estimate used in system performance calculations.
Practical implications for van owners:
- Follow the panel’s stated ventilation requirements.
- Avoid blocking any designed airflow channels.
- Do not assume that a flexible module should be bonded completely flush.
- Consider roof color, parking conditions, and exposure to direct sunlight.
- Check the temperature limits of the module, adhesive, cables, and other components.
If the vehicle regularly sits in direct sun, thermal management is not an abstract engineering detail. It is part of choosing the mounting location and materials.
Common Problems When Fitting Flexible Solar Panels to a Van Roof
The panel does not sit flat
Possible cause: The roof has ribs, seams, or a curve that is outside the module’s permitted range.
What to do: Recheck the roof profile and the panel’s instructions. Use only approved surface preparation or mounting solutions. Do not press the panel into an unsupported gap or exceed its bending limit.
The adhesive begins to lift at an edge
Possible cause: Inadequate preparation, incompatible materials, incorrect application conditions, insufficient curing, or stress from the panel trying to return to a flatter shape.
What to do: Stop and assess the cause. Do not simply cover the lifting edge with another bead of generic sealant. Follow the mounting-system supplier’s repair guidance and confirm that the underlying substrate remains sound.
The panel produces less power than expected
Possible cause: Shading, poor orientation, high module temperature, dirty surfaces, wiring losses, controller mismatch, or changing weather.
What to do: Compare measurements with the expected conditions and the module’s electrical specifications. Check for shade from roof equipment and inspect the wiring. A single low reading does not by itself prove that the panel is defective.
Water appears near a cable entry
Possible cause: An unsuitable gland, poor sealing, a damaged roof surface, or a penetration placed in a water path.
What to do: Investigate promptly and repair using a vehicle- and installation-compatible method. Do not assume that the panel’s weather resistance makes the roof penetration waterproof.
Example — Planning a 200 W Van Solar Installation
The following is a hypothetical planning example, not a verified customer case or a guarantee of system output.
A van owner wants to install a nominal 200 W flexible solar array. The roof has a ventilation fan, a small antenna, and a shallow curve. Before ordering the panels, the owner measures the clear roof area, checks the module dimensions, and confirms the permitted curvature and mounting method.
For a basic energy estimate, assume the array receives 4 peak-sun-hours per day:
200 W × 4 hours = 800 Wh per day, before system losses.
That figure is a simplified estimate, not a forecast. Actual production may be lower due to shading, temperature, orientation, weather, dirt, wiring, and controller losses. The owner should compare the estimate with the expected daily energy use and account for the battery and charge-controller specifications.
The owner then dry-fits the modules and notices that one proposed panel position would place its cable outlet too close to the roof fan. Rather than forcing the cable into a tight bend, the layout is adjusted. The mounting method is checked against the roof coating, and the electrical design is verified before installation.
The useful lesson is that roof measurements, cable routing, and mounting compatibility should be resolved together. A panel can fit within the roof’s outline yet still be poorly positioned for wiring, maintenance, or shading.
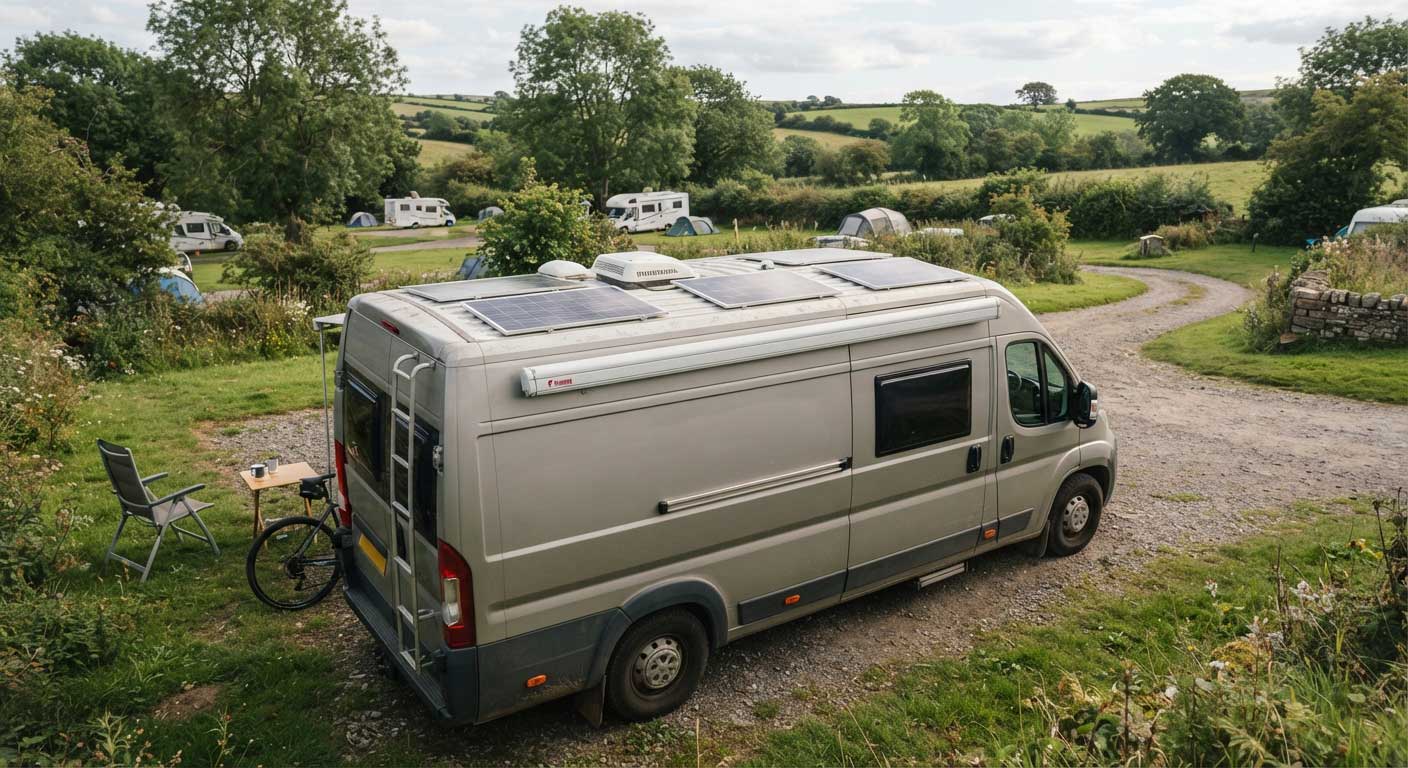
Bright Solar Flexible Panels for Van and OEM Projects
Bright Solar supplies flexible and semi-flexible solar panel options for B2B applications. When considering a panel for a van roof, project teams should assess the exact model’s dimensions, electrical ratings, construction, bending limits, and approved installation method rather than selecting by wattage or appearance alone.
Bright Solar’s L Series is described as a lightweight flexible panel range with a maximum bending capacity of up to 30% and a DuPont ETFE surface. The range is also described as salt-water resistant. These characteristics should be checked against the selected model’s datasheet and installation documentation before use.
For OEM, ODM, and bulk procurement, useful project details include:
- Van type and roof construction
- Usable roof dimensions and curvature
- Intended mounting method and surface material
- Expected operating environment
- Required rated power and electrical configuration
- Cable, connector, and customization requirements
- Order quantity and any project-specific compliance requirements
Providing this information early helps the manufacturer and installer assess product suitability and avoid late changes to the roof layout.
FAQ About Fitting flexible solar panels to van roof
Can flexible solar panels be fitted directly to a van roof?
Some flexible panels can be bonded directly to a suitable roof, but this depends on the module design, roof material, and approved mounting method. Check the installation manual and adhesive compatibility before starting.
Do flexible solar panels need an air gap on a van roof?
It depends on the specific panel and mounting instructions. Some products require airflow or a defined gap to help manage heat. Do not assume that fully flush bonding is suitable for every flexible module.
Can flexible solar panels fit a curved van roof?
They can accommodate only the curvature allowed by the manufacturer. Check the permitted bending range or minimum bend radius. Avoid folding, creasing, twisting, or forcing a panel over a sharp roof ridge.
What adhesive should I use for flexible solar panels on a van?
Use only an adhesive or tape approved for the particular module and compatible with the roof surface. Follow the supplier’s preparation, application, temperature, and curing instructions. Generic sealant is not automatically a suitable structural mounting adhesive.
Can I drive immediately after bonding the panels?
Do not drive until the mounting system has reached the required cure or fixing condition specified by its manufacturer. The necessary time depends on the product and application conditions.
Why is my van’s flexible solar panel producing less power than expected?
Possible causes include shading, high module temperature, dirt, orientation, weather, wiring losses, or charge-controller incompatibility. Check the system under suitable sunlight conditions and compare readings with the module’s specifications.
How should I maintain flexible solar panels on a van roof?
Inspect the panel edges, attachment, cable routing, connectors, and roof penetrations periodically. Clean the surface using a method approved by the panel manufacturer, and investigate any lifting, abrasion, water ingress, or visible damage promptly.
Conclusion
A reliable van-roof solar installation begins with a suitable panel and a roof that can support the approved mounting method. Measure around roof equipment, check the surface and curvature, prepare the roof correctly, and route cables so they remain protected during travel. Pay attention to ventilation, curing requirements, and electrical compatibility rather than treating the installation as a simple stick-on job.
For van owners, installers, and B2B buyers, fitting flexible solar panels to van roof surfaces is a project-specific task: the correct approach depends on the module, roof construction, and real operating conditions. Bright Solar flexible panel options can be evaluated for suitable applications by reviewing the exact model specifications and installation requirements.
Related recommendations
-

Flexible Solar Panels 200W: Lightweight Solar Power for RV, Marine and Off-Grid Applications
174Flexible solar panels 200w deliver lightweight, efficient solar power for RVs, boats, and off-grid systems. Explore Bright Solar technology, real applications, and installation insights.
View details -
Flexible Solar Panels Marine Solutions for Boats and Offshore Power
161Discover how flexible solar panels marine solutions provide lightweight, durable power for boats, yachts, and offshore vessels. Learn installation, efficiency, and marine benefits.
View details -
flexible 400w solar panel: Lightweight High-Power Solar Solution for RV, Marine and Off-Grid Use
275Explore flexible 400w solar panel solutions from Bright Solar with lightweight design, high efficiency, and reliable power for RV, marine, and off-grid applications.
View details -
450w Solar Panels: Output, Size and Applications
245450w solar panels deliver high power in limited space. Compare output, efficiency, dimensions, wiring and applications for RV, home and off-grid solar systems.
View details