How to install ring solar panel?
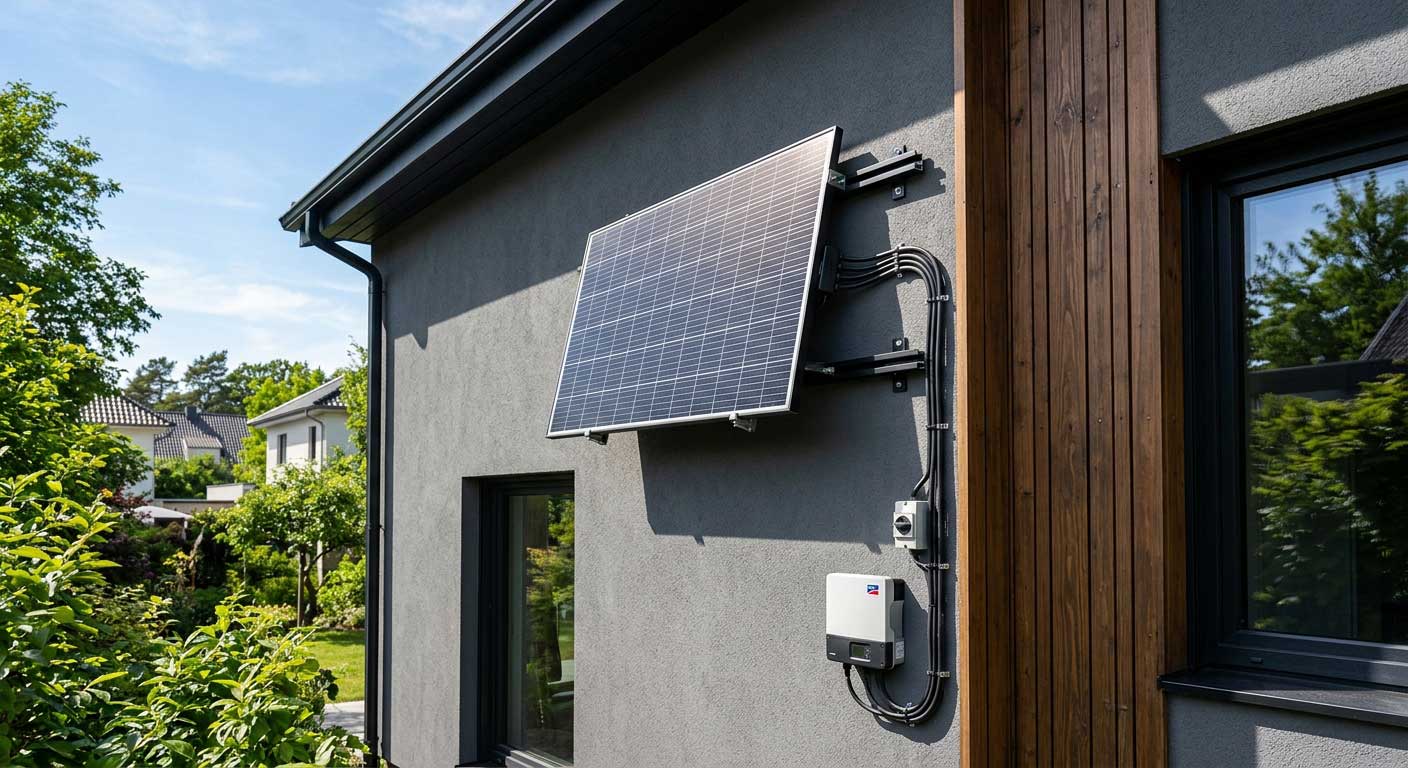
To install a Ring solar panel, mount the panel in a location with direct sunlight, secure the bracket, connect the solar cable to the compatible device, and confirm charging performance. Proper positioning ensures reliable energy supply.
How to install ring solar panel step by step
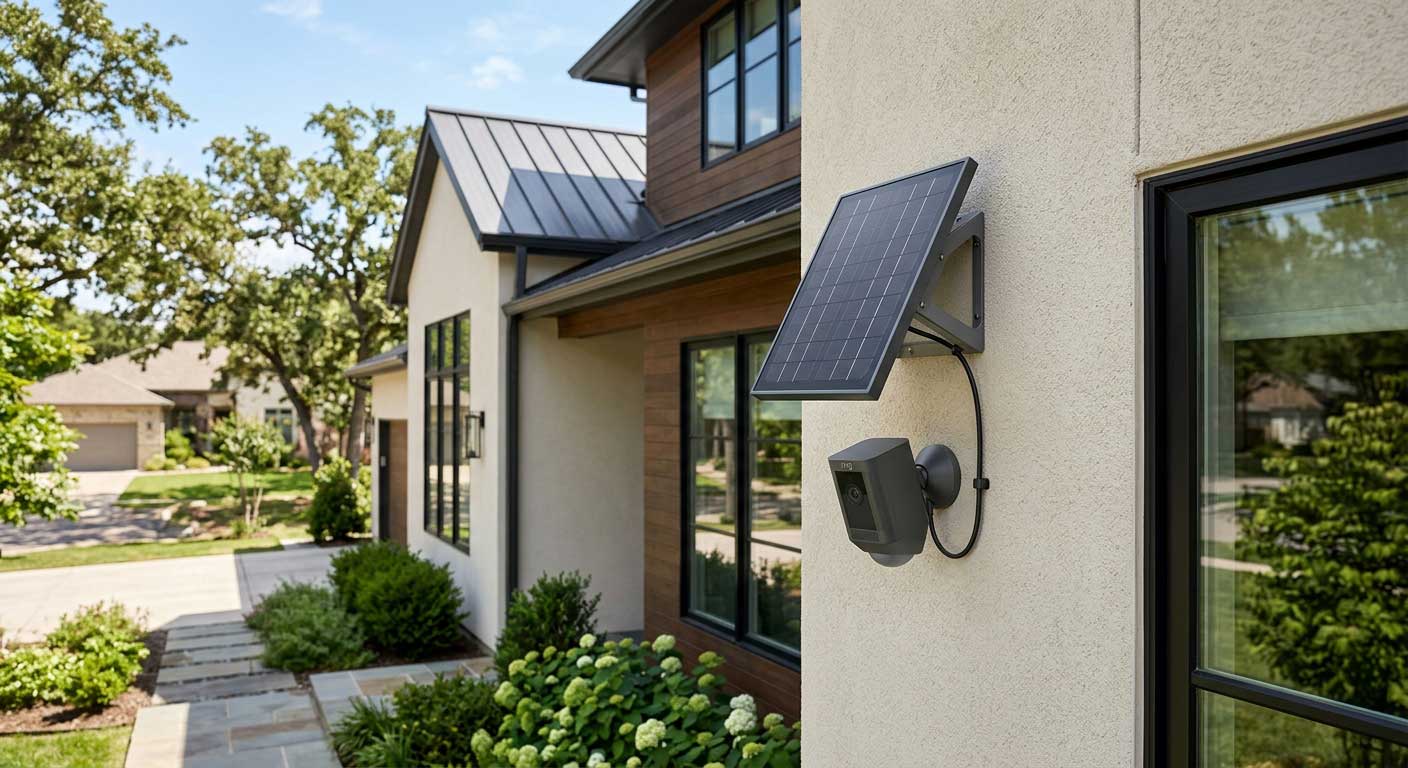
Understanding how to install ring solar panel starts with selecting the correct location and ensuring the solar panel receives enough sunlight throughout the day. Although Ring solar panels are designed for security cameras and small outdoor devices, the installation principles are similar to many compact solar applications: good positioning, secure mounting, and correct connection.
At Bright Solar, we evaluate solar installations from a practical engineering perspective. Our team works with outdoor power solutions, RV solar applications, and customized flexible solar systems where installation conditions are rarely perfect. In field projects, we often find that the mounting location creates more performance differences than the panel itself. A panel placed under partial shade from a tree or roof edge may look acceptable but can significantly reduce daily energy collection.
Before installation, prepare:
- Ring-compatible solar panel
- Mounting bracket
- Screws and installation tools
- Drill (if required)
- Cable management clips
- Compatible Ring device
The basic installation process:
Choose location → Install bracket → Attach solar panel → Connect cable → Test charging
Step 1: Choose the best location for a Ring solar panel
Check sunlight exposure before mounting
The first step in how to install ring solar panel is identifying a location with consistent sunlight.
Ideal locations usually include:
- South-facing walls in the Northern Hemisphere
- Open outdoor areas
- Locations away from tree shadows
- Areas without nearby building obstructions
Solar panels generate electricity based on available sunlight, not simply outdoor placement.
According to the U.S. Department of Energy, solar photovoltaic performance depends on factors including solar radiation, orientation, shading, and temperature conditions.
A common installation mistake is choosing a convenient location near the camera while ignoring sunlight availability. In practice, moving a panel several feet to avoid afternoon shade can improve charging consistency.
Step 2: Install the mounting bracket
Secure the bracket correctly
Once the location is selected:
- Hold the mounting bracket against the installation surface.
- Mark screw positions.
- Drill pilot holes if necessary.
- Secure the bracket firmly.
- Confirm the bracket angle and stability.
The mounting surface affects long-term reliability.
Common surfaces:
| Surface Type | Installation Consideration |
|---|---|
| Wood siding | Easy screw installation |
| Brick wall | Requires suitable anchors |
| Concrete | Requires masonry hardware |
| Metal surface | Check fastening strength |
Outdoor solar equipment experiences wind, rain, and temperature changes. A stable mount prevents movement that can affect sunlight exposure.
Step 3: Attach and connect the Ring solar panel
Connect the solar cable properly
After installing the bracket:
- Attach the solar panel to the mount.
- Adjust the panel direction.
- Connect the solar cable to the compatible Ring device.
- Check that the connection is secure.
Keep the cable protected from:
- Sharp edges
- Excessive bending
- Water collection points
- Loose hanging sections
Bright Solar’s experience with flexible solar products shows that cable routing is often overlooked during installation. A clean cable path improves durability, especially in outdoor environments exposed to vibration and weather.
Step 4: Adjust solar panel angle and test performance
Optimize the panel position
After installation, adjust the solar panel angle to maximize sunlight exposure.
Consider:
- Morning sunlight
- Afternoon sunlight
- Seasonal sun changes
- Nearby shade sources
For small solar panels, even limited shading can affect charging performance because the available generation area is much smaller than a residential solar array.
Testing after installation:
- Check device charging status
- Confirm cable connection
- Monitor performance over several days
- Reposition if charging is inconsistent
A single sunny afternoon does not always represent typical performance. Solar output changes throughout the year.
Common mistakes when installing a Ring solar panel
Installing in shaded areas
A panel under trees, roof overhangs, or nearby structures may receive insufficient sunlight.
Mounting too far from the device
Longer cable routes can create installation challenges and unnecessary exposure.
Ignoring weather protection
Outdoor connections should be positioned to reduce water exposure.
Forgetting seasonal changes
A location with summer sunlight may receive less winter sunlight due to lower sun angles.
Ring solar panel installation compared with other small solar applications
Small solar panels share similar installation principles with other portable and outdoor systems.
| Application | Main Installation Focus |
|---|---|
| Security camera solar panel | Sunlight and cable connection |
| RV solar panel | Roof space and vibration resistance |
| Marine solar panel | Waterproofing and mounting strength |
| Portable solar panel | Position flexibility |
Bright Solar develops flexible solar panels for applications where installation space is limited, including RVs, boats, outdoor equipment, and off-grid systems.
FAQ About Installing Ring Solar Panel
Where should I install a Ring solar panel?
Install it in an open outdoor location that receives several hours of direct sunlight and avoids major shading.
Can I install a Ring solar panel myself?
Yes. Most small solar panel installations can be completed with basic tools if the mounting surface is suitable.
Does a Ring solar panel work in cloudy weather?
Yes, but charging performance may decrease because solar energy production depends on available sunlight.
How long does it take to install a Ring solar panel?
Installation time depends on the mounting surface and location, but simple installations can usually be completed quickly.
Can I install a Ring solar panel indoors?
No. Solar panels require outdoor sunlight exposure to generate electricity effectively.
Does the solar panel need direct sunlight?
Direct sunlight provides the best performance, although some energy generation can occur under indirect light.
How do I know if my Ring solar panel is charging?
Check the connected device status and monitor charging performance after installation.
Final Answer: How to install ring solar panel?
Knowing how to install ring solar panel helps improve charging reliability and outdoor device performance. The key steps are selecting a sunny location, securing the mounting bracket, connecting the cable correctly, and checking long-term sunlight exposure.
Bright Solar applies similar installation principles when designing flexible solar solutions for RV, marine, portable, and off-grid applications, where reliable outdoor energy generation is essential.
The prev: How to go off grid with solar panels?The next: How to keep snow off solar panels?
Related recommendations
-

how many watts can a solar panel generate?
111Solar panels can range from 50W to over 700W, depending on panel size, cell efficiency, and design. Actual output varies with sunlight, temperature, shading,...
View details -
Can You Walk on Solar Panels?
159Can you walk on solar panels? Learn why ordinary modules can be damaged by foot pressure, when specialist walk-on panels may be suitable, and how to inspect a solar array safely.
View details -
how to integrate solar panels?
232Learn how to integrate solar panels with home solar systems, batteries, inverters, and the grid. Explore practical system design, wiring, storage, and safety.
View details -
How to go off grid with solar panels?
17Going off grid with solar panels requires a properly sized system that combines solar generation, battery storage, charge control, and an inverter. System de...
View details