How to Connect Portable Solar Panel to RV Battery?
Direct Answer :
To connect a portable solar panel to an RV battery, route the panel through a properly sized solar charge controller rather than connecting it directly to the battery. Match the controller to the panel output and battery chemistry, connect the battery first, then connect the covered solar panel, checking polarity and fuse protection.
If you are learning how to connect portable solar panel to RV battery, the wiring itself is fairly simple. The part that deserves more attention is the equipment between the panel and battery.
A practical portable RV setup normally looks like:
Portable Solar Panel → Charge Controller → Fuse → RV Battery
Some portable solar “suitcases” already include a charge controller. Others provide only the panel and cables. That distinction changes the connection method.
In hands-on RV solar work, one of the first things to check is the RV’s existing solar input. A “solar-ready” RV may have a factory port, but the connector polarity and supported system specifications should be verified rather than assumed. Renogy’s RV installation guidance specifically recommends checking the RV documentation and measuring an existing solar-ready port before connecting a panel.
What You Need to Connect a Portable Solar Panel to an RV Battery
A basic setup normally requires:
| Component | Purpose |
|---|---|
| Portable solar panel | Produces DC electricity |
| Solar charge controller | Regulates battery charging |
| RV battery | Stores solar energy |
| Solar cables | Carry power between components |
| Fuse or breaker | Protects wiring and equipment |
| MC4/SAE adapter | Matches incompatible connectors |
The battery type matters too. AGM, flooded lead-acid, gel, and LiFePO4 batteries use different charging profiles. The controller must support the battery chemistry and voltage of your RV battery.
A useful field check is to read the label on the battery before buying the controller. “12V” alone does not tell you the correct charging settings.
Renogy’s RV guidance identifies four key sizing factors: total solar wattage, panel wiring configuration, battery chemistry, and battery-bank voltage.
Can You Connect a Portable Solar Panel Directly to an RV Battery?
Do Not Skip the Charge Controller
For a normal RV solar installation, the portable panel should not be connected directly to the battery.
The charge controller sits between them and manages charging according to the battery’s requirements.
The basic arrangement is:
Solar Panel → Charge Controller → RV Battery
A small portable panel with its own integrated controller is different because the regulation electronics are already built into the panel system.
This is an important distinction when shopping for portable solar equipment. Two products may both be advertised as “100W portable solar panels,” while only one includes the charging electronics needed for direct battery connection.
How to Connect Portable Solar Panel to RV Battery Step by Step
Step 1 — Check the RV Battery
Identify:
- Battery voltage
- Battery chemistry
- Positive (+) terminal
- Negative (−) terminal
- Existing battery protection
Most RV auxiliary battery systems are 12V, but confirm the actual configuration before connecting anything.
Step 2 — Check the Portable Panel
Look at the panel’s:
- Rated power
- Open-circuit voltage (Voc)
- Operating voltage (Vmp)
- Short-circuit current (Isc)
- Connector type
Do not size a controller from wattage alone. Its maximum PV voltage and charging-current rating also need to accommodate the panel.
For example, a 100W panel may be suitable for a small 12V RV system, but actual charging current depends on panel operating voltage, sunlight, temperature, controller efficiency, and other system losses.
Step 3 — Confirm Whether the Panel Has a Controller
This is where many first-time RV owners make a wrong connection.
Portable panel with built-in controller
The controller may already regulate the output for the battery. Follow the manufacturer’s battery connection instructions.
Portable panel without a controller
Add a compatible external charge controller:
Panel → Controller → Battery
Do not assume an SAE plug automatically means the panel can safely connect to the battery.
The Correct Connection Order for an RV Portable Solar System
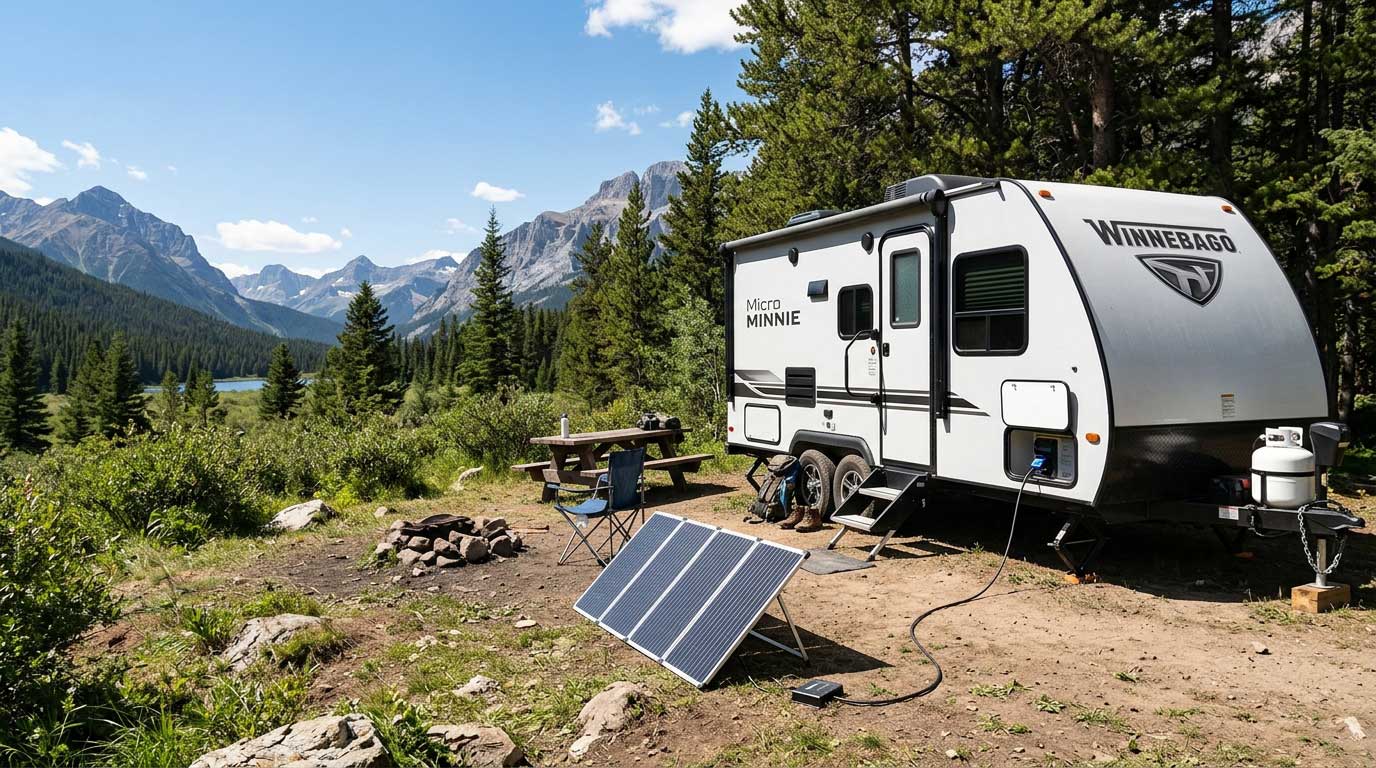
With the panel covered or disconnected from sunlight:
- Turn off loads and relevant disconnects.
- Connect the charge controller to the RV battery.
- Confirm positive and negative polarity.
- Install the recommended fuse or breaker.
- Configure the controller for the correct battery chemistry.
- Connect the portable solar panel to the controller.
- Remove the panel cover or place the panel in sunlight.
- Check the controller display for charging status.
Renogy’s current off-grid setup guidance also specifies connecting the battery to the charge controller before connecting the solar panel, with the panel covered or out of sunlight during wiring.
Why Portable Solar Panels Are Useful for RVs
A portable panel has one major advantage over a permanently mounted roof panel: positioning freedom.
You can park the RV in shade and place the panel in a sunnier location, provided the cable run is appropriate.
This is particularly useful when:
- The RV is parked under trees
- Roof space is occupied by an air conditioner
- You only camp occasionally
- You do not want permanent roof penetrations
- You need a removable solar setup
There is a trade-off. Longer cable runs increase voltage drop, so cable size and distance become more important when the panel sits far from the RV.
Renogy’s RV guidance also notes that portable solar suitcases with integrated controllers can be appropriate for lower-energy trips of one or two nights between campground electrical hookups.
Troubleshooting Common Connection Problems
Even when the wiring sequence is correct, a portable solar setup may show little or no charging. In practice, the first checks should be simple: sunlight, polarity, controller status, connectors, and battery voltage.
The RV Battery Is Not Charging
Check whether the portable panel is receiving direct sunlight. A panel placed beside an RV can easily fall into partial shade from the vehicle, trees, awnings, or nearby equipment. Also check that the controller is connected to the battery before the solar input.
For systems using a separate charge controller, verify that the controller recognizes the battery voltage and chemistry correctly. Some controllers require the battery type to be configured before charging begins.
The Controller Shows an Error
Disconnect the solar input and inspect the positive and negative connections. Reverse polarity can prevent normal operation and may damage equipment in some systems.
If the system uses an SAE or RV solar-ready connector, do not assume that every port has identical polarity. Confirm the polarity with the RV manufacturer or measure it with a multimeter before making the final connection.
Charging Current Is Lower Than Expected
Rated panel wattage is measured under specified test conditions, so actual charging power changes with sunlight intensity, panel orientation, temperature, shading, cable resistance, and other system losses. A portable panel lying flat on the ground will therefore not necessarily deliver its nameplate wattage throughout the day.
Cable length also matters. For a portable RV installation, keep unnecessary cable runs short and use conductors appropriately sized for the current and distance.
Portable Panel With Built-In Controller vs. Separate Controller
Portable solar panels are sold in several configurations. A folding solar suitcase may already include a charge controller, while a bare portable panel generally requires an external controller.
The distinction matters because the battery should not be connected directly to a conventional solar panel simply because the panel has a suitable-looking connector. A charge controller regulates the charging process between the PV source and battery.
For an RV owner, an integrated controller can make temporary deployment easier. A separate MPPT controller can provide more flexibility when designing a larger system, but its PV voltage, current, battery voltage, and battery chemistry limits must be checked against the complete system rather than the panel alone.
Practical Setup for RV Camping
A portable solar system is particularly useful when the RV is parked under conditions where a roof-mounted panel would be inconvenient. The panel can be positioned in a sunnier area while the RV remains parked in shade, provided the cable length and electrical specifications are appropriate.
A practical field setup is:
- Park the RV safely and place the panel in an unobstructed location.
- Keep the panel covered while making electrical connections.
- Connect the battery to the charge controller first.
- Confirm positive and negative polarity.
- Connect the portable solar panel to the controller.
- Uncover the panel and check the controller display.
- Monitor charging current and battery voltage during initial operation.
This battery-first connection sequence is also recommended in installation guidance from Renogy for its off-grid and RV solar equipment.
FAQ About How to Connect Portable Solar Panel to RV Battery?
Can I connect a portable solar panel directly to an RV battery?
Generally, no. A conventional solar panel should be connected through a suitable solar charge controller. Some small or specially designed systems have different requirements, so follow the panel and controller manufacturer’s specifications.
Do I need a charge controller for a portable RV solar panel?
Yes, when the panel does not already include an appropriate controller. The controller regulates power delivered to the battery and must be compatible with the panel and battery system.
Should I connect the battery or solar panel first?
Connect the battery to the charge controller first, then connect the solar panel. When disconnecting, reverse the sequence: disconnect the solar source before disconnecting the battery.
Can I use a portable solar panel with a lithium RV battery?
Yes, provided the charge controller supports the lithium battery chemistry and is configured according to the battery manufacturer’s requirements. Controller compatibility should be verified before installation.
Can a portable solar panel charge an RV battery while camping?
Yes. The panel can provide solar charging while the RV is parked, with actual charging power depending on sunlight, panel orientation, shading, temperature, wiring, and system configuration.
What should I check before connecting the panel?
Check the panel’s voltage and current ratings, controller input limits, RV battery voltage and chemistry, connector polarity, cable size, fuse requirements, and the manufacturer’s installation instructions.
Conclusion
Knowing how to connect portable solar panel to RV battery starts with one basic rule: use the correct charge controller between the solar panel and battery unless the portable system already has an appropriate integrated controller. Confirm battery chemistry, system voltage, polarity, connector compatibility, fuse protection, cable sizing, and controller limits before charging.
For portable RV use, the main advantage is deployment flexibility. You can move the panel toward available sunlight instead of relying entirely on the RV roof position. That makes portable solar useful for camping, boondocking, and temporary off-grid charging, provided the electrical system is correctly matched.
Related recommendations
-

What Is the Price of Solar Panels?
157What is the price of solar panels? Learn real solar panel costs, pricing factors, system expenses, and expert buying insights from Bright Solar.
View details -
What Roof Is Best for Solar Panels?
122Discover what roof is best for solar panels with expert guidance. Learn roof types, angles, materials, and installation factors for better solar performance.
View details -
how much are solar panels for a house?
196Find out how much are solar panels for a house with real installation data, pricing breakdowns, and field insights from Bright solar residential projects worldwide.
View details -
How to Make Your Own Flexible Solar Panel?
230Discover how to make your own flexible solar panel through real workshop experience, practical mistakes, material selection, and proven engineering methods.
View details