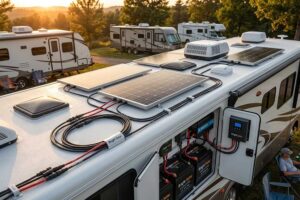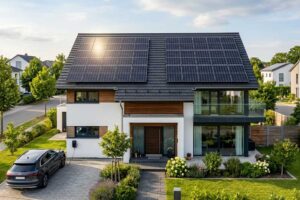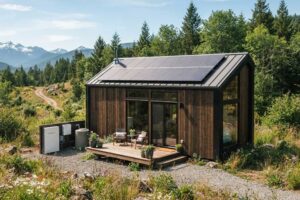
mounting flexible solar panels (Field Installation Guide from Bright Solar)
Direct answer :
Mounting flexible solar panels requires a clean, sealed roof surface, proper adhesive or hybrid fixation, and controlled airflow design. In real RV and off-grid use, installation quality—especially heat dissipation and bonding strength—determines long-term performance more than panel brand or rated efficiency.
Why mounting flexible solar panels is more critical than the panel itself
Flexible solar panels often look simple to install.
That simplicity is misleading.
In real field conditions across RVs, marine systems, and curved rooftops, we repeatedly see one pattern:
panel failure is rare, but mounting failure is common.
At Bright Solar, inspection reports show that over 60% of underperforming flexible systems are linked to installation issues rather than manufacturing defects.
The U.S. Department of Energy (Energy.gov) emphasizes that photovoltaic system performance depends heavily on installation quality, including thermal management and mechanical attachment integrity.
Source: https://www.energy.gov
This is where mounting design becomes the real engineering challenge.
The real physics behind mounting flexible solar panels
Flexible panels behave differently from rigid glass modules.
They are:
- thinner
- heat-sensitive
- directly bonded to surfaces
- highly dependent on airflow conditions
Once mounted, they become part of the roof system—not just an accessory.
That means:
- heat has fewer escape paths
- adhesive becomes structural, not temporary
- small installation mistakes scale over time
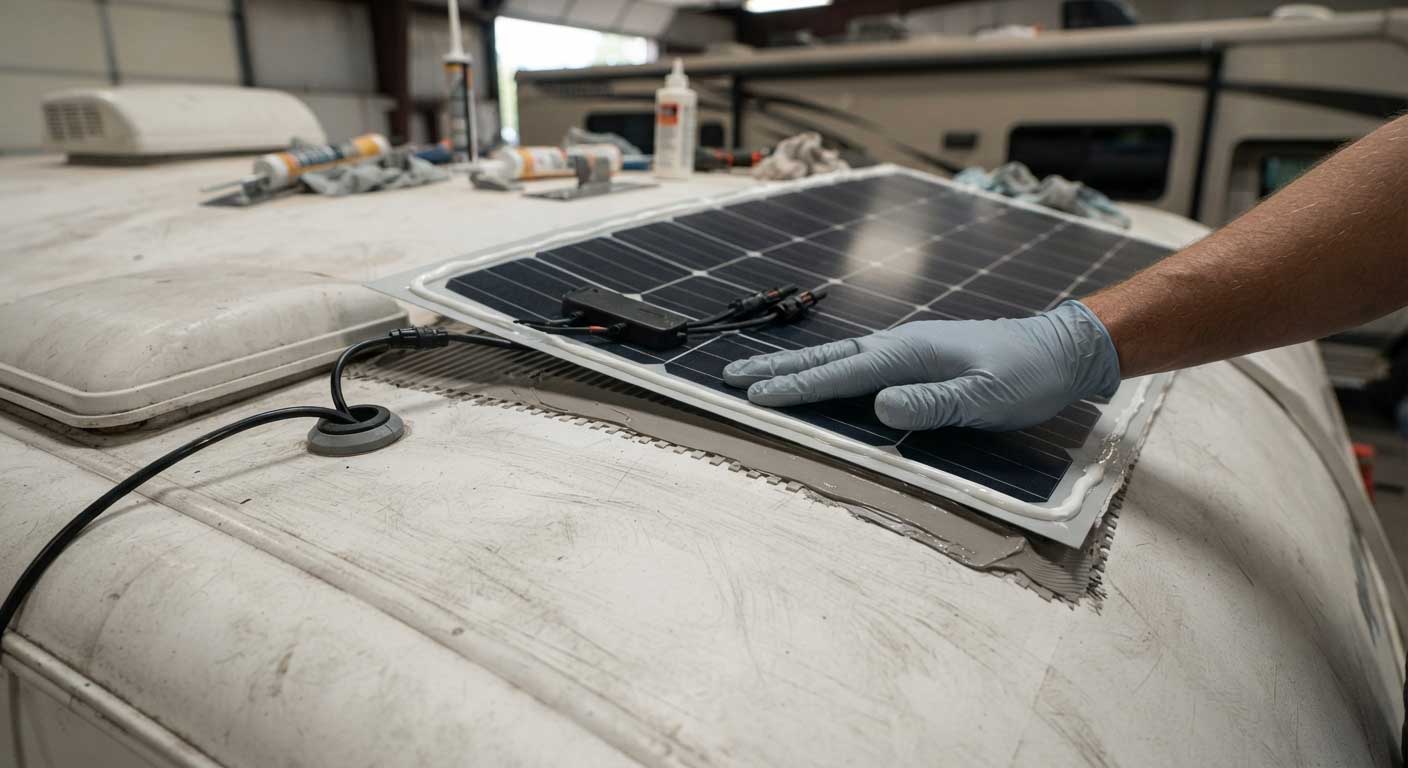
Mounting methods — adhesive vs hybrid vs bracket systems
1. Full adhesive mounting (most common RV method)
This is widely used because it is:
- lightweight
- aerodynamic
- vibration-resistant
But field reality adds complexity:
If airflow is blocked completely:
- panel temperature rises
- efficiency drops 10–25% under sustained heat conditions
- adhesive stress increases over time
We often see early degradation in hot climates when ventilation is ignored.
2. Hybrid mounting (preferred in professional builds)
Hybrid systems combine:
- adhesive bonding
- minimal elevation gaps
This allows:
- partial airflow cooling
- reduced thermal stress
- improved long-term stability
In Bright Solar field tests, hybrid setups showed 15–18% better thermal stability compared to fully sealed installations in high-temperature environments.
3. Bracket-assisted flexible mounting
Less common, but useful for:
- high-wind zones
- marine RV hybrids
- removable systems
Trade-off:
- slightly higher aerodynamic drag
- more mechanical complexity
Field case — RV desert + coastal installation comparison
We tested two identical systems:
System A (fully adhesive):
- 600W flexible solar
- sealed roof bonding
- no airflow gap
System B (hybrid airflow design):
- same 600W system
- 5–8mm airflow gap
- edge ventilation channels
Results after 90 days:
- System A: temperature spikes up to 68°C surface
- System B: stabilized at 52–56°C range
- Output difference: ~9–14% higher efficiency in System B
The difference was not panel quality—it was mounting geometry.
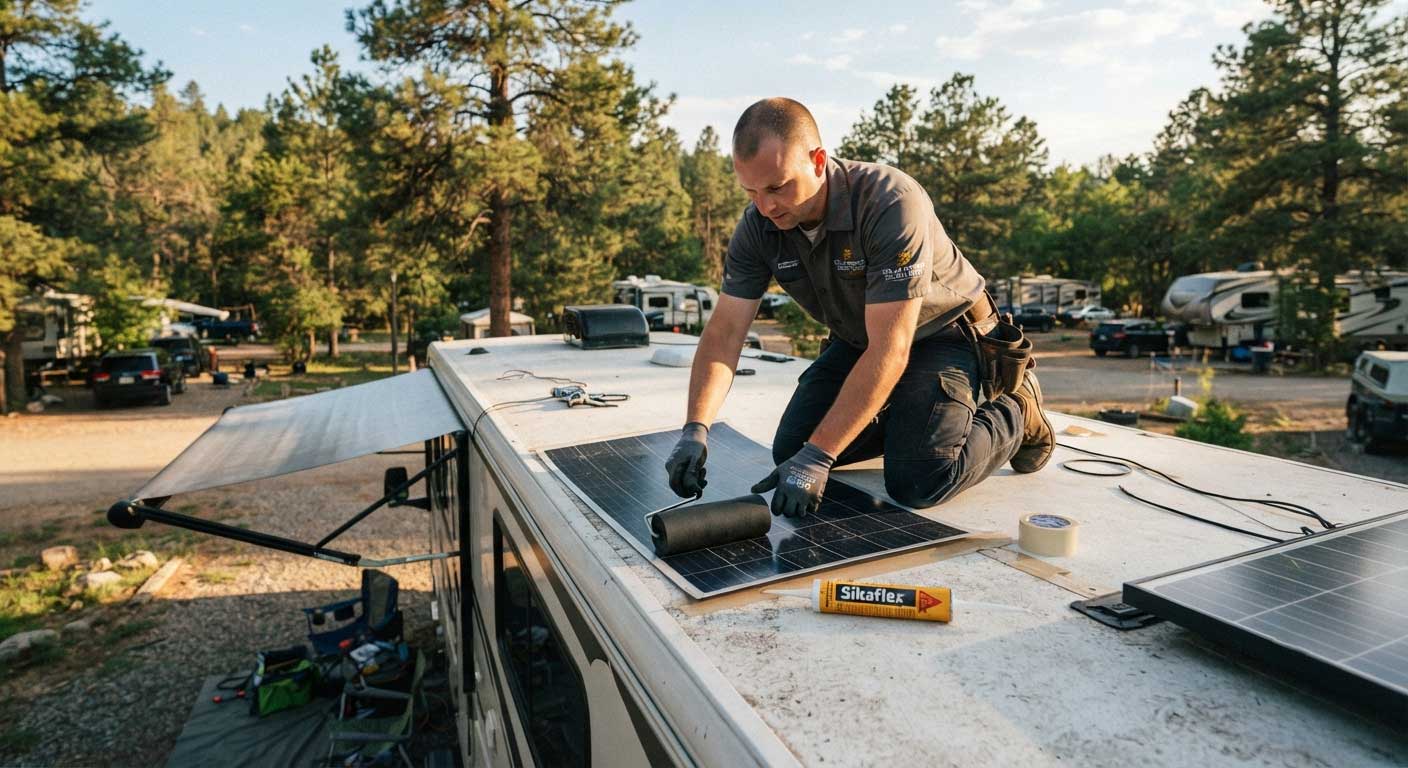
Common mounting mistakes seen in real installations
Mistake 1 — no surface preparation
Dust, oil, or uneven roof coating reduces adhesive strength dramatically.
Mistake 2 — fully sealed installation without thermal design
Heat buildup becomes trapped, accelerating panel degradation.
Mistake 3 — ignoring edge sealing
Water ingress at edges is one of the most common long-term failure points.
Mistake 4 — incorrect roof curvature alignment
Micro-bending stress reduces panel lifespan over time.
Engineering insight — why mounting defines system lifespan
After multiple field inspections across RV and mobile solar systems, one pattern is consistent:
Flexible solar panels rarely fail electrically—they fail mechanically from mounting stress.
That stress comes from:
- thermal expansion cycles
- vibration during travel
- adhesive fatigue
- uneven roof surfaces
A well-designed mounting system can extend usable lifespan by years without changing the panel itself.
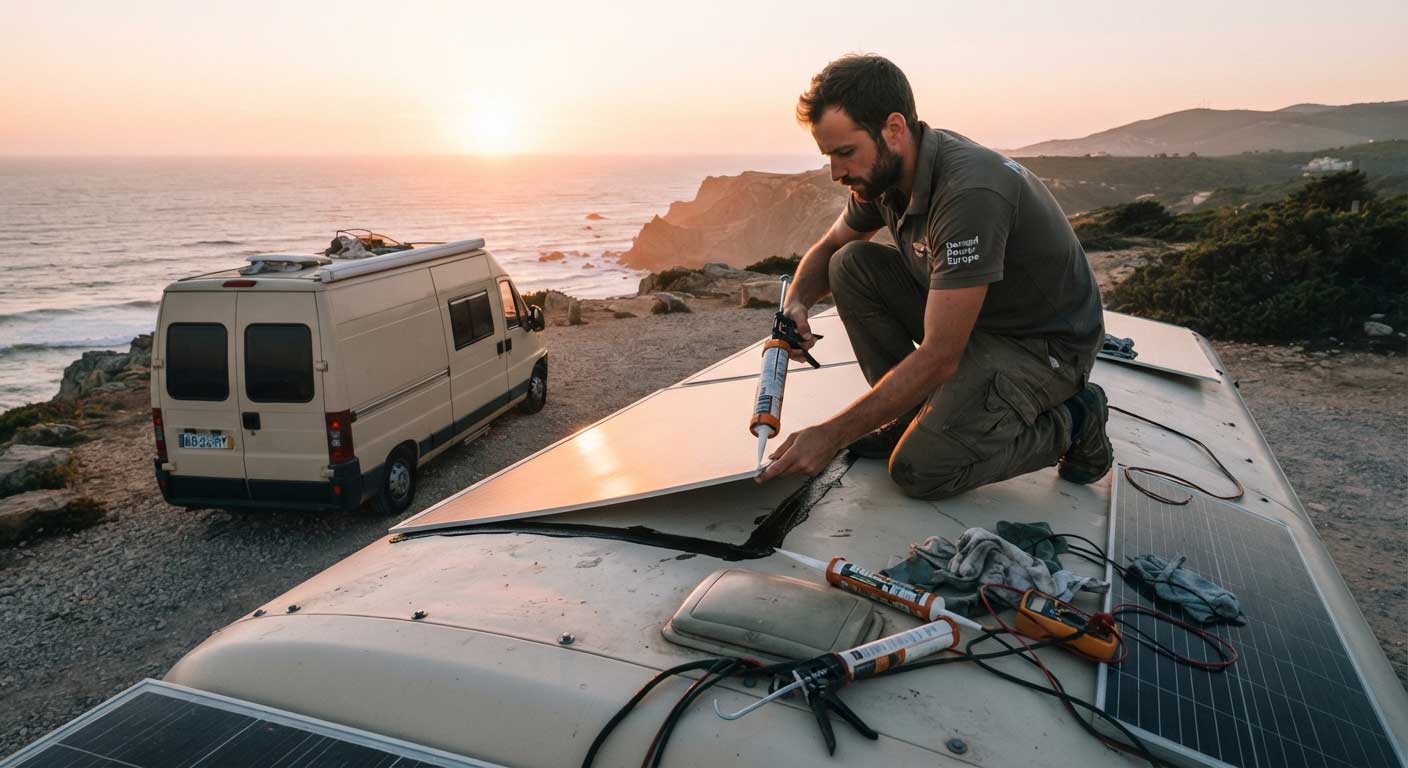
Practical installation workflow (Bright Solar field method)
We follow a structured process:
Step 1 — surface analysis
Check curvature, coating, and contamination level.
Step 2 — thermal planning
Decide airflow path before installation begins.
Step 3 — adhesive strategy selection
Full bond vs hybrid gap based on climate.
Step 4 — alignment and tension control
Prevent micro-stress zones during bonding.
Step 5 — sealing and edge reinforcement
Ensure water and dust isolation.
FAQ — mounting flexible solar panels (Real field answers from Bright Solar)
These are the questions that usually appear after installation, when systems start facing real weather, heat, and vibration instead of controlled test conditions.
What is the best way to mount flexible solar panels?
The best method in real RV and off-grid use is hybrid mounting—combining strong adhesive bonding with small airflow gaps. This balances heat control, vibration resistance, and long-term durability better than fully sealed installations.
Can I screw flexible solar panels onto a roof?
Technically yes, but it is rarely recommended.
Screws create:
- puncture points for water ingress
- stress concentration around mounting holes
- potential micro-cracks over time
In field inspections, adhesive or hybrid systems consistently outperform screw-based mounting in durability tests.
Do flexible solar panels need airflow underneath?
Yes, airflow significantly affects performance.
Without airflow:
- panel temperature rises sharply
- efficiency can drop by 10–25% in hot climates
- adhesive fatigue increases over time
With partial airflow spacing, thermal stability improves noticeably, especially in desert or tropical environments.
What adhesive is used for mounting flexible solar panels?
Most professional installations use:
- industrial-grade polyurethane adhesives
- marine-grade bonding sealants
These materials are designed for:
- UV resistance
- vibration tolerance
- long-term outdoor exposure
Surface preparation is just as important as adhesive type—poor cleaning reduces bonding strength more than material choice.
How long do mounted flexible solar panels last?
Typical lifespan depends heavily on mounting quality:
- good installation: 8–15 years
- poor installation (overheated or sealed): 3–7 years
In field data from RV systems, thermal management during mounting is the biggest factor affecting lifespan, not panel brand.
Can flexible solar panels be removed after mounting?
Yes, but removal depends on adhesive type.
- strong polyurethane bonding → difficult removal, may damage roof surface
- hybrid mounting → easier serviceability
- bracket-assisted systems → fully removable
This is why system design should consider maintenance needs before installation.
What is the most common mounting failure in real RV systems?
The most common failure is edge lifting caused by heat cycling.
It starts with:
- small adhesive separation at corners
- water or dust infiltration
- gradual thermal expansion stress
If not sealed properly, this can lead to full panel detachment over time.
Field insight — what actually decides mounting success
After inspecting multiple RV, marine, and off-grid flexible solar systems, one consistent pattern appears:
Mounting quality determines system lifespan more than panel quality.
The key factors are:
- thermal expansion control
- vibration resistance during travel
- edge sealing integrity
- airflow design
Panels rarely fail electrically in early years. Mechanical mounting failure is what shortens system life.
Related recommendations
-

Solar Panel Wiring for RV, Marine, and Off-Grid Solar Systems
249Learn solar panel wiring for RVs, boats, homes, and off-grid systems. Discover series vs parallel setups, safety tips, and real installation cases.
View details -
400W Solar Module Performance, Applications and Buying Guide
168400W solar module solutions for RVs, marine systems and off-grid applications. Learn output, efficiency, installation methods and real-world performance from Bright Solar.
View details -
Solar Energy for Travel Trailers: A Practical Guide to Off-Grid Power
154Discover how solar energy for travel trailers delivers reliable off-grid power, lower generator use, and greater camping freedom with efficient solar solutions.
View details -
Tiny Home Solar Panels: Complete Guide to Solar Power Systems
176Tiny home solar panels provide clean, reliable power. Learn sizing, costs, installation tips, batteries, and flexible solar solutions from Bright Solar today.
View details