how to hook up portable solar panels to rv batteries?
Direct Answer :
To hook up portable solar panels to RV batteries, connect the panels to a compatible solar charge controller, then connect the controller to the battery through correctly sized cables and protection. Confirm polarity, battery chemistry, controller limits, and fuse requirements before exposing the panels to sunlight.
The Correct Connection Path for an RV Battery
The basic electrical path is:
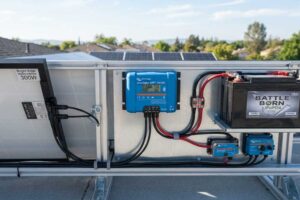
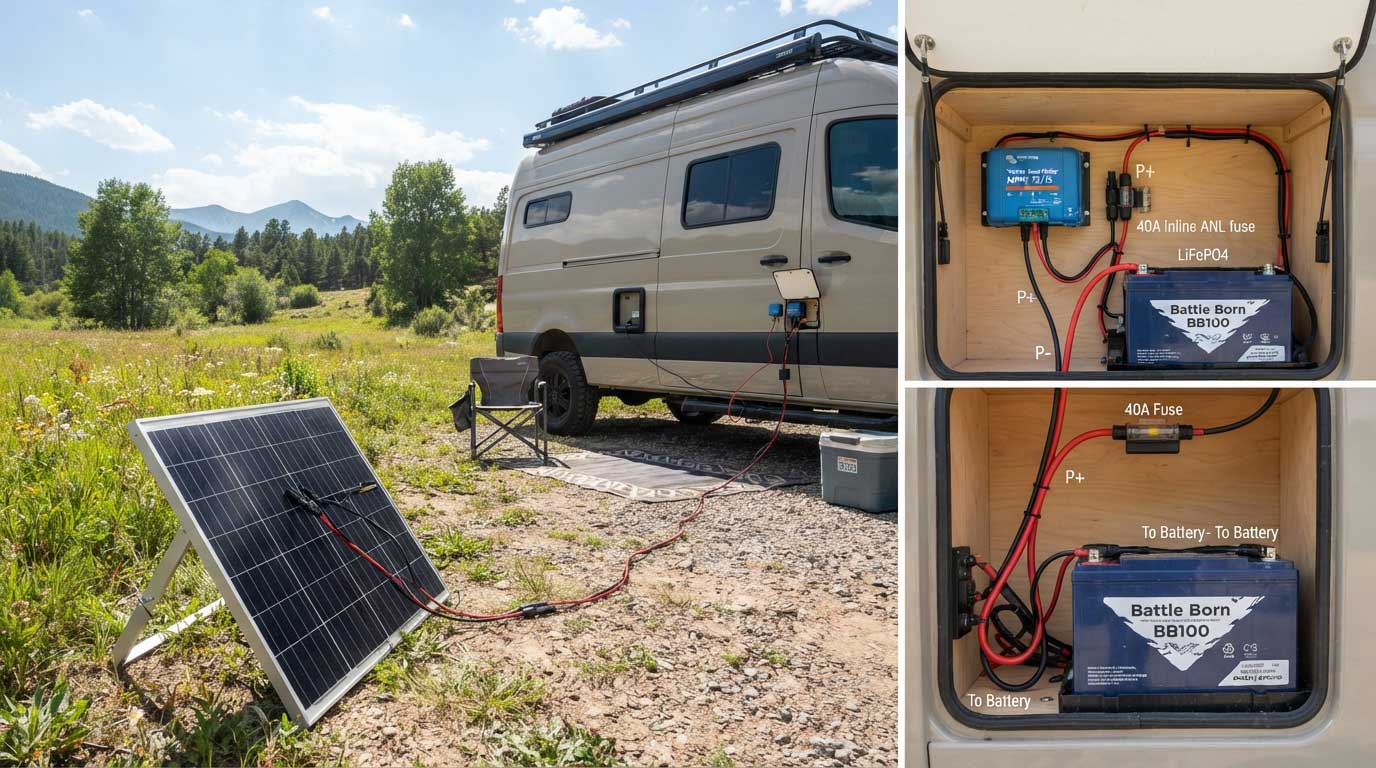
Portable solar panel → solar charge controller → fuse/protection → RV battery
The charge controller is not an optional piece when a bare solar panel is being connected directly to an RV battery. Its job is to regulate the panel’s variable output and provide the charging profile required by the battery.
Victron Energy’s current RV guidance describes the same basic architecture: the solar charge controller sits between the PV array and leisure battery, with MPPT and PWM being the two common controller types.
For a portable setup, this usually means one of two arrangements:
| Portable solar setup | Typical connection |
|---|---|
| Panel with built-in controller | Panel → controller → RV battery |
| Bare portable panel | Panel → external MPPT/PWM controller → RV battery |
| RV “solar-ready” port | Panel/controller → RV solar port → battery system |
| Portable power station | Panel → built-in controller → power station |
That last distinction matters. A portable power station normally already contains its own charging electronics, so adding another external solar controller can create a compatibility problem.
Check the RV Solar Port Before Plugging Anything In
A factory-installed RV solar port can look deceptively simple. It may use an SAE-style connector, but the connector itself does not tell you whether the RV already contains a charge controller or whether the polarity matches your portable panel.
Renogy specifically warns that some “solar-ready” RV ports can use intentionally reversed polarity depending on the system. Checking the connector with a multimeter before connecting unfamiliar equipment is therefore worthwhile.
For a Bright Solar portable panel installation, verify these five points first:
- RV battery voltage: 12V or another system voltage
- Battery chemistry: AGM, flooded lead-acid, GEL, or LiFePO4
- Panel Voc and Isc
- Charge-controller maximum PV voltage and current
- Connector polarity and connector type
Do not size the controller from the panel’s advertised wattage alone. The panel’s electrical specifications and the controller’s input limits need to agree.
Connect the Battery Side Before the Solar Input
This is one of the small details that makes a noticeable difference during installation.
Keep the portable panel covered or disconnected from direct sunlight while wiring. Connect the battery side of the charge controller first, observing positive and negative polarity. Once the controller recognizes the battery and has been configured for the correct battery type, connect the solar input.
Renogy’s RV installation guidance also specifies connecting the charge controller to the battery before connecting the solar panels.
A practical connection sequence is:
- Turn off the RV’s relevant DC loads.
- Cover the portable solar panel or keep it out of direct sunlight.
- Connect the controller’s positive (+) output toward the battery through the required fuse or breaker.
- Connect the controller’s negative (-) output to the battery negative or appropriate negative bus.
- Confirm the controller powers up and recognizes the battery.
- Select the correct battery charging profile.
- Connect the portable solar panel to the controller’s PV input.
- Check the controller display or monitoring app for charging current.
The fuse belongs where it can protect the wiring and equipment against a fault. Victron’s RV guidance emphasizes appropriate DC fusing and correctly sized cables throughout the system.
Why Cable Length Matters More Than Many RV Owners Expect
Portable panels often sit several metres away from the RV. That extra cable run increases resistance and voltage drop.
The practical mistake is using a convenient extension cable simply because its connector fits. Wire gauge should be selected according to current, cable length, and acceptable voltage drop, rather than connector compatibility alone. Renogy likewise identifies cable length and current as key inputs when selecting conductor size.
For example, a 200W portable array may produce substantially more current on a 12V battery system than the same power delivered at a higher PV voltage. This is one reason MPPT controllers are useful in RV applications: they can accept a higher PV voltage and convert it to the battery’s charging voltage.
Victron’s RV sizing guidance notes that series wiring raises voltage while parallel wiring raises current; the choice affects cable requirements, shading behaviour, and controller sizing.
Choosing the Right Portable Solar Setup for an RV
Once the wiring route is understood, the next issue is matching the equipment. A 200W portable solar panel does not automatically mean a 20A controller is appropriate in every installation. The actual panel voltage, current, battery voltage, controller efficiency, cable length, and operating conditions all matter.
For a nominal 12V RV battery system, a simple planning estimate is:
Charging current ≈ Solar power ÷ battery charging voltage
So, a 200W array operating around a 14V charging voltage could theoretically provide roughly 14A before accounting for conversion losses and real-world conditions. Solar output is not constant; cloud cover, panel temperature, orientation, shading, and dirt can all reduce the current reaching the battery.
The U.S. Department of Energy notes that PV system output depends on factors including sunlight availability, orientation, shading, temperature, and system losses.
MPPT or PWM for Portable RV Solar Panels?
Both controller types can be used, but they work differently.
| Feature | PWM | MPPT |
|---|---|---|
| Basic function | Connects panel voltage closer to battery voltage | Converts excess PV voltage into useful charging current |
| Higher-voltage panel compatibility | More limited | Generally more flexible |
| Long cable runs | Voltage drop can become more significant | Higher PV-side voltage can be advantageous |
| Cost | Usually lower | Usually higher |
| Portable RV applications | Suitable for simpler systems | Useful where panel voltage and available energy need better utilization |
For a compact portable RV system, PWM can be perfectly adequate when the panel and battery are closely matched. MPPT becomes more attractive when the portable panel operates at a substantially higher voltage, when cable runs are longer, or when extracting more energy from variable sunlight is important.
Battery Chemistry Changes the Charging Requirements
Do not select the controller’s battery setting simply because the RV battery is labeled “12V.”
A 12V AGM battery and a 12V LiFePO4 battery require different charging behaviour. The controller needs to support the battery chemistry specified by the manufacturer.
For lithium batteries, the battery manufacturer’s recommended charging voltage and temperature requirements should take priority over generic settings. Some lithium batteries also incorporate a battery-management system (BMS), but that does not mean the solar controller can be configured incorrectly.
For lead-acid batteries, ventilation and installation conditions also deserve attention. Flooded batteries can release hydrogen during charging, so they should be installed and ventilated according to the battery manufacturer’s instructions.
This is where real RV installations become less tidy than diagrams suggest. The battery compartment may already contain an inverter, fuse block, DC distribution wiring, and several existing loads. Adding a portable solar connection without checking the existing architecture can create a confusing—or poorly protected—system.
A Quick Pre-Connection Checklist
Before connecting portable solar panels for RV use, check:
- Battery: Confirm nominal voltage and chemistry.
- Panel: Record Voc, Isc, Vmp, and Imp from the actual panel label or datasheet.
- Controller: Verify maximum PV voltage and charging-current rating.
- Polarity: Confirm positive and negative connections with the equipment documentation.
- Fuse: Use protection appropriate for the conductor and system design.
- Cable: Size according to current, length, and allowable voltage drop.
- Connectors: Make sure the mating connectors are electrically and mechanically compatible.
- Weather: Keep exposed connections protected from water and mechanical damage.
- Shading: Position the portable panel where the RV itself, roof equipment, trees, or awnings will not unnecessarily shade it.
What Happens When the Portable Panel Is in Full Sun?
A common misunderstanding is that a “200W” or “400W” portable panel will continuously deliver its rated wattage.
It will not.
Rated power is measured under specified test conditions. Actual field production changes throughout the day. The National Renewable Energy Laboratory’s PVWatts model accounts for variables such as irradiance, temperature, wind, system losses, and mounting conditions when estimating PV energy production.
For an RV owner, this difference is easy to see in practice. A portable panel pointed directly toward the sun at midday can behave very differently from the same panel lying flat beside the RV at 8 a.m. A partial shadow across one section of a panel can also affect output considerably depending on the module’s electrical configuration.
That is why a charge controller display showing a lower instantaneous wattage than the panel’s nameplate rating does not, by itself, indicate a defective panel.
Common Problems When Connecting Portable Solar Panels to RV Batteries
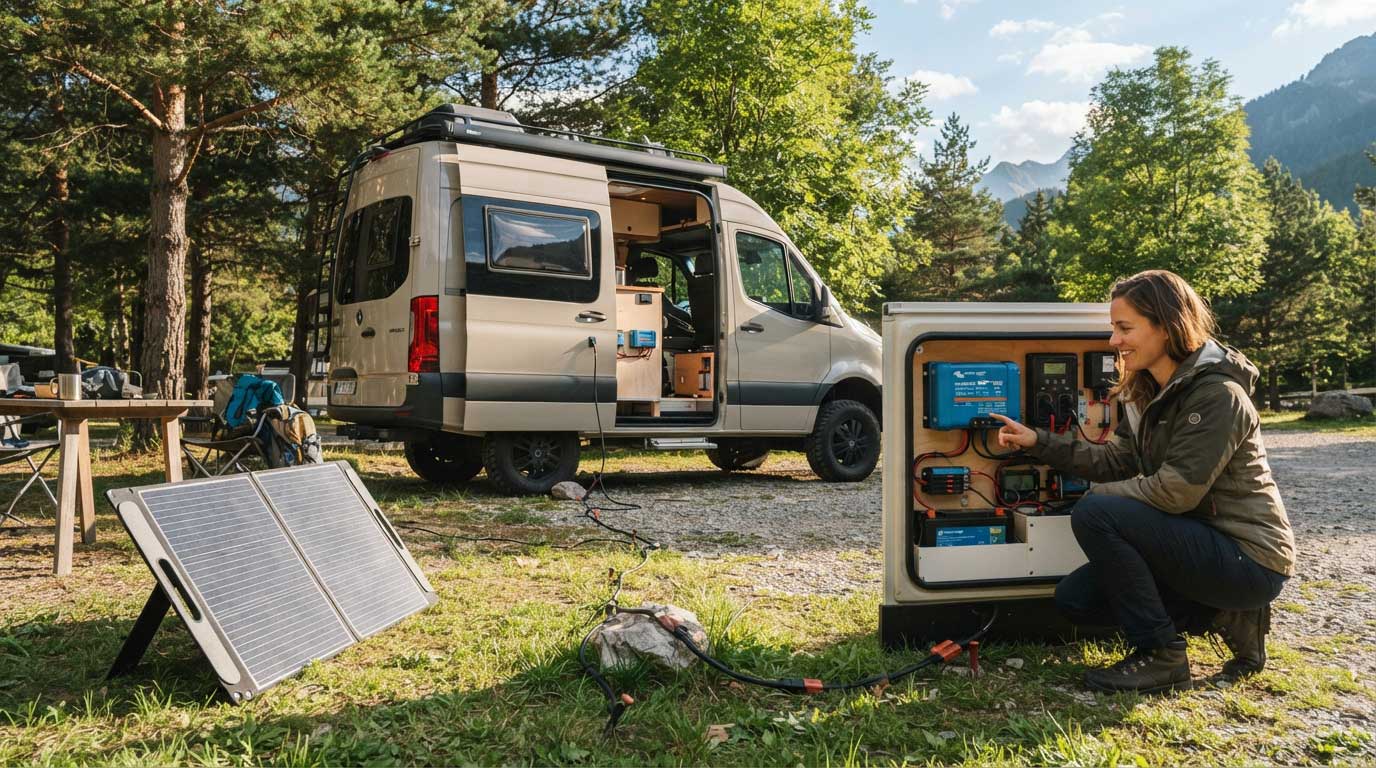
If the battery does not appear to be charging, start with the simple electrical checks rather than immediately blaming the panel.
The Controller Shows No Solar Input
Check whether the panel is actually receiving sunlight. Then inspect the PV connectors, cable continuity, polarity, and controller input voltage.
If the battery side is disconnected or incorrectly wired, many controllers will not operate normally.
Charging Current Is Lower Than Expected
Possible causes include:
- Cloudy or low-angle sunlight
- Partial shading
- Incorrect panel orientation
- High panel temperature
- Cable voltage drop
- Dirty panel surface
- Battery already near its charging limit
- Controller or wiring limitations
A lower reading at a particular moment is not enough to diagnose a failed panel.
The Battery Voltage Looks Normal but the Battery Is Not Charging
Battery voltage alone is not a reliable indication of charging current. Check the controller’s PV voltage, charging current, battery voltage, and charging stage together.
Also remember that the RV may be consuming power at the same time. Refrigerators, ventilation fans, lighting, USB chargers, inverters, and other DC loads can consume part of the solar energy while charging is occurring.
FAQ About how to hook up portable solar panels to rv batteries?
Can I connect a portable solar panel directly to an RV battery?
Generally, a bare solar panel should not be connected directly to an RV battery. Use a compatible solar charge controller between the panel and battery unless the portable product already incorporates the required charging electronics.
Do I need a charge controller for portable solar panels for RV use?
Yes, when the portable panel does not already contain suitable charge-control electronics. The controller regulates charging and must be compatible with both the PV input and the RV battery chemistry.
Can I use a 200W portable solar panel with a 12V RV battery?
A 200W panel can be used with a 12V-class RV battery when the solar charge controller, wiring, protection, and battery charging requirements are correctly matched. The panel’s actual Voc and current ratings should be checked before installation.
Should I connect the solar panel or battery to the controller first?
For many conventional charge controllers, connect the battery side first, then connect the PV input. Always follow the specific controller manufacturer’s installation instructions because equipment designs differ.
Can I use an RV solar-ready port with a portable panel?
Potentially, but first determine what equipment is already installed behind the port. Verify polarity, connector type, controller arrangement, maximum input specifications, and the RV manufacturer’s wiring documentation.
Why does my portable solar panel produce less than its rated wattage?
Rated wattage is measured under defined test conditions. Outdoor output varies with irradiance, temperature, orientation, shading, wiring losses, and other system conditions. NREL‘s PVWatts model incorporates these variables when estimating real-world PV production.
Is a portable solar panel better than a permanently mounted RV panel?
They serve different installation needs. Portable panels allow the user to reposition the array for sunlight and can be stored when traveling. Permanently mounted panels are convenient because they remain connected and available while the RV is in use. The appropriate configuration depends on the RV layout and intended use.
Conclusion
Learning how to hook up portable solar panels to rv batteries starts with the electrical architecture, not the connector. The reliable arrangement is a correctly matched portable panel, charge controller, protected battery connection, suitable cable, and battery-specific charging profile.
For Bright Solar portable solar applications, verify the actual panel specifications and RV electrical configuration before selecting the controller or cable. A connector that physically fits is not proof that the electrical system is compatible.
Related recommendations
-

How many amps does 300 watt solar panel produce?
184How many amps does 300 watt solar panel produce? Learn solar panel amp calculations, voltage effects, current output, and real-world solar performance.
View details -
How to Install Flexible Solar Panels on Van?
196Learn how to install flexible solar panels on van roofs safely and efficiently. Real installer tips, wiring advice, mounting methods, and maintenance insights.
View details -
How to Hook Up Solar Panel to Battery?
154Connect the solar panel to a compatible charge controller first, then connect the controller to the battery with correct polarity.
View details -
How to Install Flexible Solar Panels to TPO Roof?
237Learn how to install flexible solar panels to TPO roof surfaces safely. Real RV installation experience, mounting methods, adhesive selection, and long-term durability tips from Bright Solar.
View details