How to Mount a Flexible Solar Panel?
How to Mount a Flexible Solar Panel?
Flexible solar panels are typically mounted using industrial adhesive, VHB tape, or lightweight fastening systems on clean, stable surfaces. Proper mounting requires careful surface preparation, waterproof cable routing, airflow management, and vibration protection to ensure long-term performance.
The first flexible panel I mounted wasn’t on an RV. It was on a fishing boat docked near San Diego. Salt air, heat, constant vibration — basically the worst environment possible for weak adhesive. Two years later the panel was still secure because the installation focused less on speed and more on preparation.
That’s the difference most online tutorials miss. Flexible solar panels are lightweight, but they are exposed to continuous stress once installed. Heat expansion, UV radiation, wind pressure, road vibration, and trapped moisture slowly destroy careless mounting jobs. At Bright Solar, we’ve inspected installations across vans, marine systems, RVs, and mobile work trailers, and the long-lasting systems almost always share the same pattern: careful mounting discipline from the beginning.
Why Flexible Solar Panels Need Special Mounting Methods
Rigid solar panels rely on aluminum frames and brackets. Flexible panels don’t.
That changes everything.
Flexible solar panels are designed for:
- Curved surfaces
- Lightweight installations
- Low-profile mounting
- Mobile applications
- Reduced wind resistance
But the lack of a rigid frame also means the panel itself absorbs more movement and heat stress.
According to the National Renewable Energy Laboratory (NREL), elevated temperatures accelerate photovoltaic degradation rates and reduce efficiency over time.
Source:
https://www.nrel.gov
That matters because flexible panels often sit directly against roofs or decks where heat buildup becomes more severe than traditional framed panels.
Where Can Flexible Solar Panels Be Mounted?
Common Installation Surfaces
Flexible solar panels are commonly mounted on:
| Surface | Common Use |
|---|---|
| RV roofs | Off-grid travel power |
| Camper vans | Mobile solar charging |
| Boats and yachts | Marine energy systems |
| Truck caps | Portable work systems |
| Curved fiberglass roofs | Lightweight installations |
| Temporary shelters | Emergency power |
One van conversion I inspected in Nevada used flexible panels because the owner needed garage clearance. Traditional rigid panels would have added several inches of height and prevented indoor parking.
What You Need Before Mounting a Flexible Solar Panel
Essential Materials and Tools
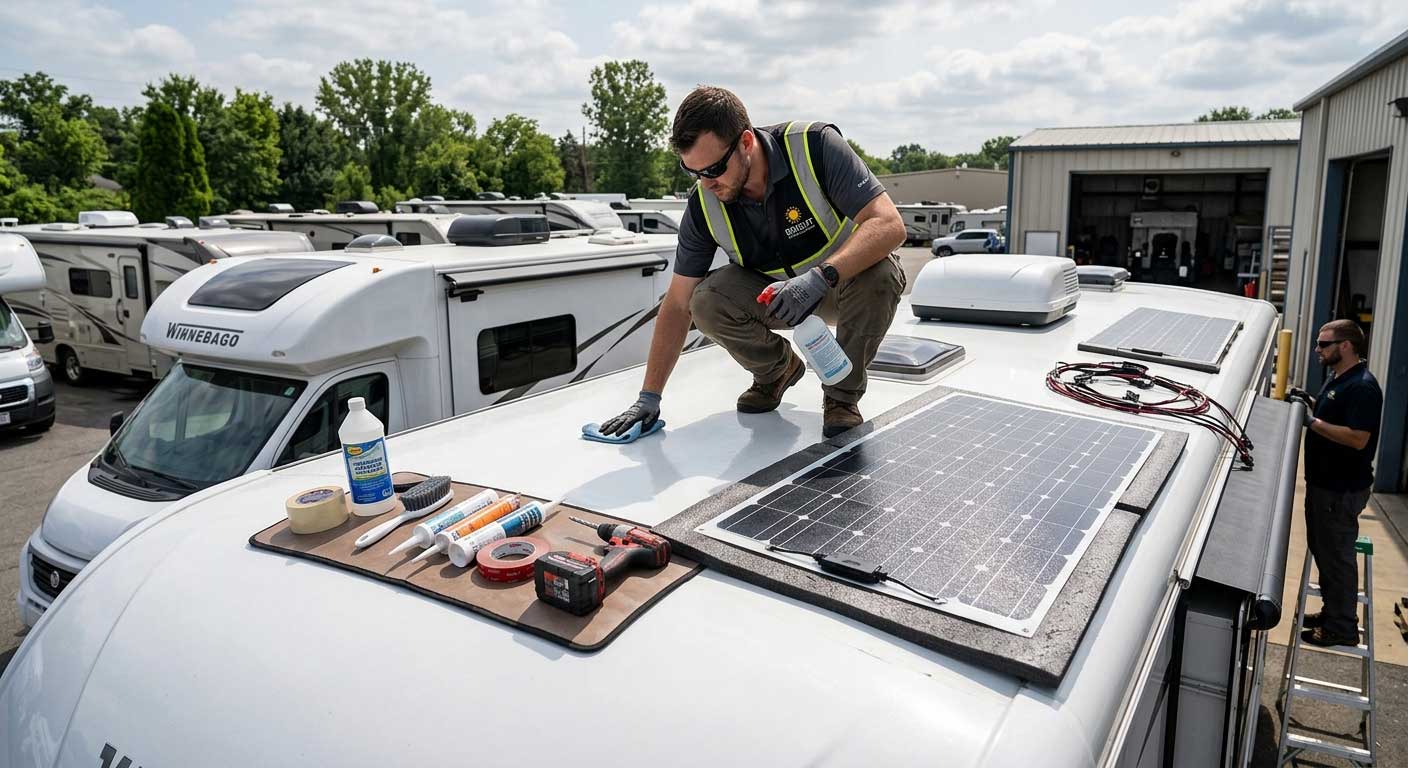
Before installation begins, gather all mounting materials first.
Recommended Equipment
- Flexible solar panel
- Industrial polyurethane adhesive
- 3M VHB tape
- Isopropyl alcohol
- Waterproof cable gland
- MC4 connectors
- UV-resistant zip ties
- Roller tool for adhesive pressure
- Fuse and charge controller
- Multimeter
Professional installers usually avoid cheap silicone sealants because they degrade faster under UV exposure and vibration.
At Bright Solar, we’ve found that adhesive quality often determines whether a panel lasts two years or ten.
Step-by-Step Guide to Mount a Flexible Solar Panel
Step 1 — Choose the Correct Mounting Area
Avoid shaded locations whenever possible.
Even partial shadows from vents, antennas, or roof racks reduce solar output significantly.
The U.S. Department of Energy notes that shading can substantially lower photovoltaic system efficiency depending on wiring configuration and panel layout.
Look for areas with:
- Maximum sunlight exposure
- Minimal roof obstructions
- Smooth mounting surfaces
- Limited foot traffic
- Safe cable routing access
One common mistake is mounting panels too close to rooftop accessories where airflow becomes restricted.
Step 2 — Clean the Surface Thoroughly
This step is usually rushed. It shouldn’t be.
Wash dirt away first. Then wipe the mounting surface with isopropyl alcohol to remove:
- Oils
- Wax residue
- Dust
- Moisture
- Cleaning chemicals
The surface should be completely dry before adhesive application.
Several failed installations I’ve inspected had nothing wrong with the solar panel itself. The adhesive simply separated from contaminated paint.
Step 3 — Test Fit the Solar Panel
Never apply adhesive immediately.
Lay the panel in place temporarily and check:
- Cable orientation
- Surface curvature
- Connector clearance
- Walking access
- Roof contours
Flexible panels should never exceed manufacturer bend limits.
On marine installations especially, slight surface twists can create pressure points that eventually crack internal cells.
Best Ways to Mount a Flexible Solar Panel
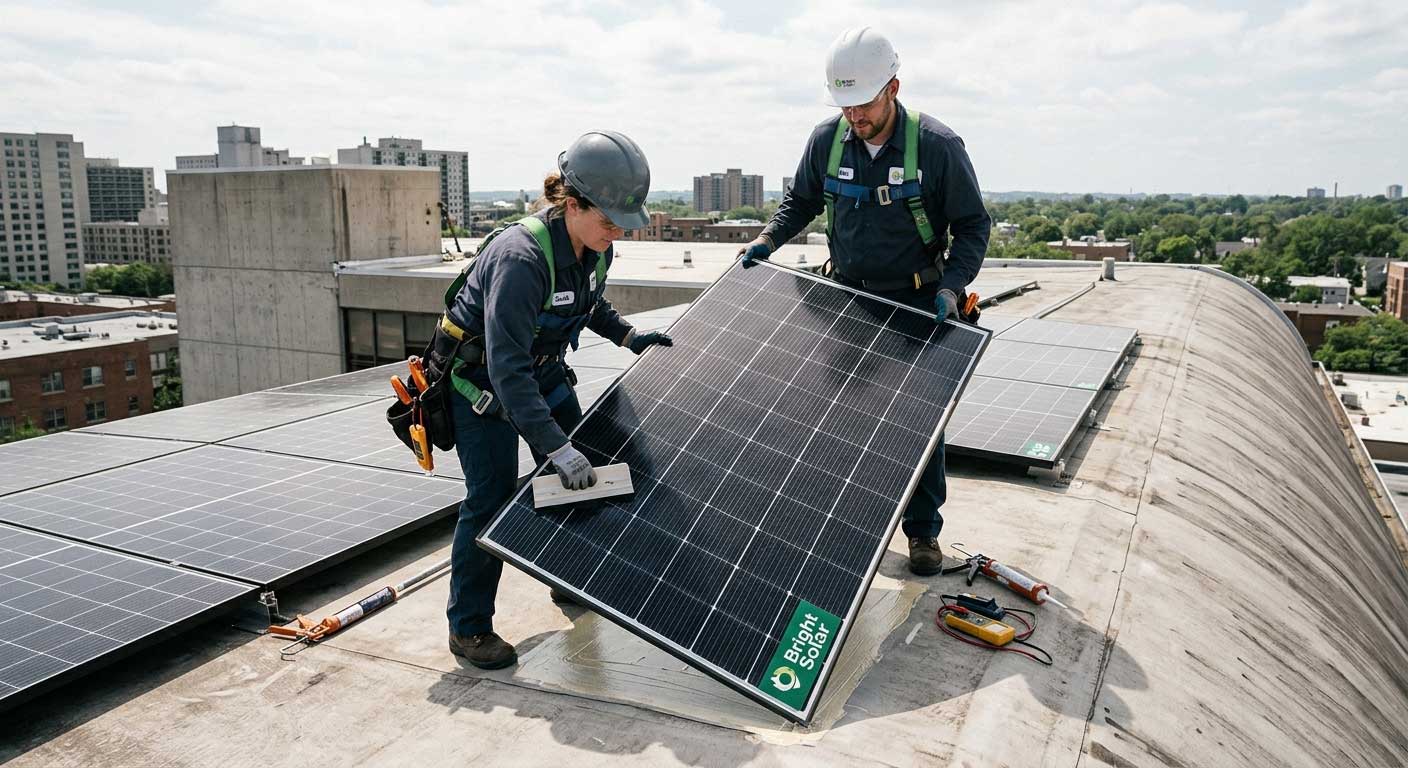
Adhesive Mounting
This is the most common method.
Professional installers often use:
- Sikaflex 252
- Sikaflex 221
- 3M VHB tape
- Dicor sealant
Advantages include:
- No large mounting brackets
- Reduced roof penetration
- Better aerodynamics
- Cleaner appearance
But adhesive mounting only works well when surface preparation is done correctly.
Screw and Bracket Mounting
Some installations use lightweight brackets combined with sealant and screws.
This approach works better for:
- High-wind environments
- Marine systems
- Uneven mounting surfaces
However, drilling introduces leak risks if sealing is done poorly.
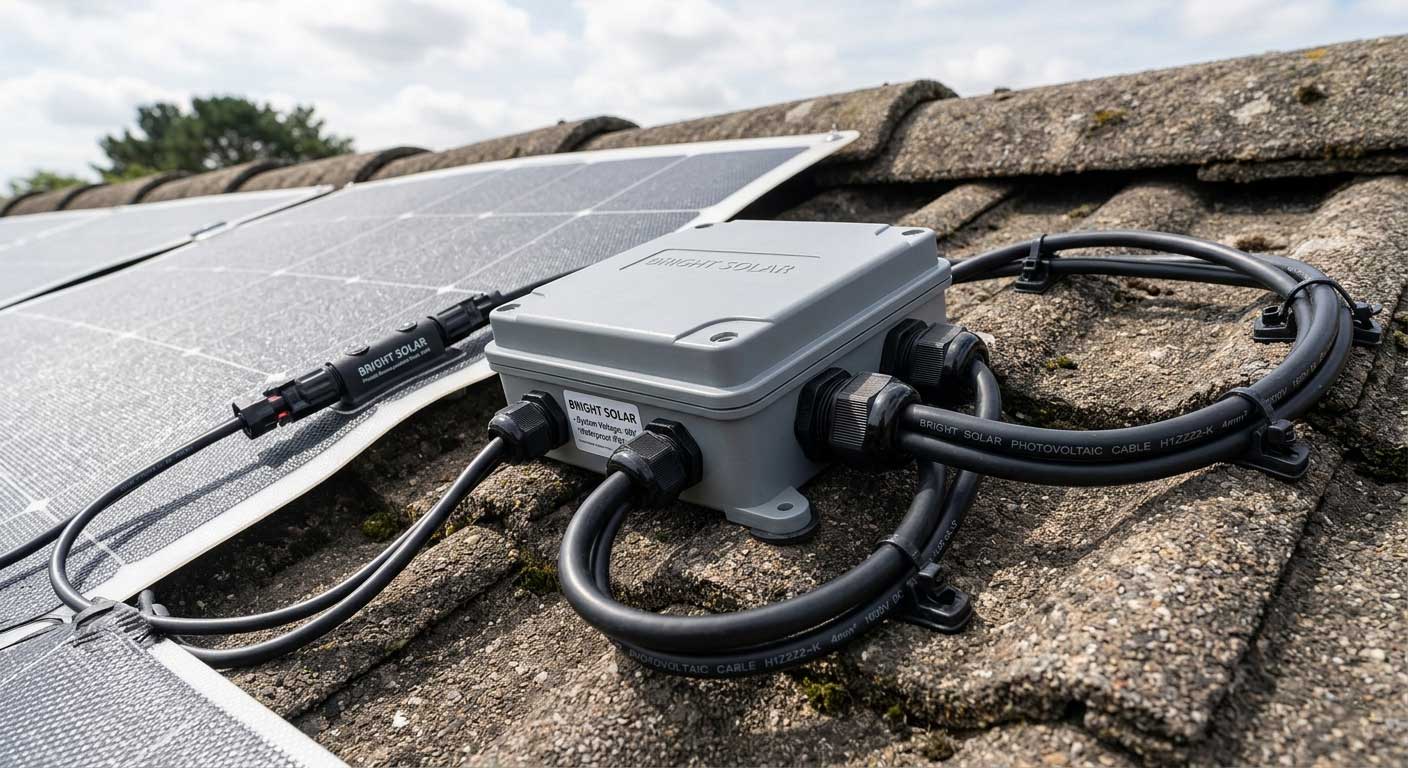
How to Route Wiring Safely
Waterproofing Matters More Than Appearance
Poor cable routing ruins otherwise good installations.
Always use:
- Waterproof cable glands
- UV-resistant clips
- Proper fuse protection
- Flexible conduit when necessary
According to the National Fire Protection Association (NFPA), electrical failures remain a major contributor to mobile vehicle and RV fire incidents.
Source:
https://www.nfpa.org
One detail many DIY installers miss: cables need slight movement tolerance. Tight wiring eventually strains connectors during vibration.
Heat Management Is the Hidden Lifespan Factor
Flexible Panels Run Hotter Than Rigid Panels
This surprises many first-time buyers.
Flexible panels mounted flush against surfaces trap more heat because airflow underneath is limited.
Research from NREL shows higher solar operating temperatures accelerate degradation and reduce long-term efficiency.
At Bright Solar, we usually recommend slight airflow spacing whenever installation design allows it.
That small detail can noticeably improve long-term durability in hot climates like Arizona, Nevada, or Southern Europe.
Common Flexible Solar Panel Mounting Mistakes
Problems That Shorten System Life
The most common installation mistakes include:
- Poor surface cleaning
- Cheap adhesive use
- No waterproof cable protection
- Excessive panel bending
- Mounting over uneven surfaces
- Trapping excessive heat
- Tight cable routing
One camper van owner I met outside Phoenix bonded panels directly onto a black metal roof with no airflow gap. Summer temperatures became extreme enough to accelerate adhesive breakdown within a year.
FAQ:How to Mount a Flexible Solar Panel?
Can flexible solar panels be glued down?
Yes. Most flexible solar panels are mounted using industrial polyurethane adhesive or VHB tape systems.
Do flexible solar panels need airflow underneath?
Some airflow helps reduce heat buildup and may improve lifespan.
Can I drill through flexible solar panels?
No. Drilling directly through the panel can damage internal solar cells and waterproof layers.
What is the best adhesive for flexible solar panels?
Professional installers commonly use Sikaflex 252, Sikaflex 221, or 3M VHB tape combined with sealant.
How long do mounted flexible solar panels last?
Most quality systems last 5–15 years depending on installation quality, climate, and heat exposure.
Final Thoughts
Learning how to mount a flexible solar panel properly is really about controlling stress — heat stress, vibration stress, and moisture intrusion. Flexible panels are lightweight and convenient, but mobile installations demand careful preparation if you expect long-term reliability.
The best installations I’ve seen were never rushed. Installers took extra time cleaning surfaces, planning cable routes, and allowing adhesives to cure correctly. Those details rarely look exciting in online tutorials, but they determine whether a system survives years of travel or fails after one summer.
The prev: How to Install Flexible Solar Panels on Van?The next: How to Mount Flexible Solar Panel?
Related recommendations
-

How Many Watts Are Solar Panels?
225How many watts are solar panels? Learn common solar panel wattages, output differences, and how to choose the right solar power size with Bright Solar.
View details -
How Does Solar Power Make Electricity?
260How does solar power make electricity? Learn how sunlight becomes usable energy through photovoltaic cells, solar technology, and expert insights from Bright Solar.
View details -
Do Solar Panels Add Value to Your House?
148Solar panels can add value to a house, but the effect is not guaranteed. Ownership, system condition, documented performance, local electricity prices, and b...
View details -
How Heavy Are Solar Panels?
252how heavy are solar panels? Learn typical solar panel weights, 400W module examples, roof load considerations, and why flexible panels can be much lighter.
View details